Skip to content
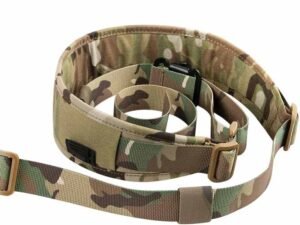
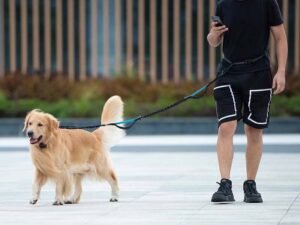
Dog harnesses are a game-changer for walks, training sessions, and everyday adventures. But you don’t have to settle for off-the-rack options that barely fit or use flimsy materials. Crafting a custom harness means you pick exactly what goes into it: the fabric, the hardware, the padding, even the pattern. Whether you’re a DIY hobbyist or a pet-product entrepreneur, this guide walks you through every detail—from materials to measurements, sewing to testing—so you end up with a harness that’s safe, comfy, and downright stylish for your dog.
To make a dog harness, choose a sturdy webbing (nylon, polyester, or cotton) plus metal buckles, D-rings, padding, and heavy-duty thread. Measure your dog’s neck and chest precisely, then cut and sew the webbing with reinforced Box-X stitches at all stress points. Test the fit and strength before the first walk.
Imagine watching your pup strut down the sidewalk in a harness you built yourself—every stitch tells a story of care and craftsmanship. Ready? Let’s dig in.
What Materials Are Needed to Make a Dog Harness?
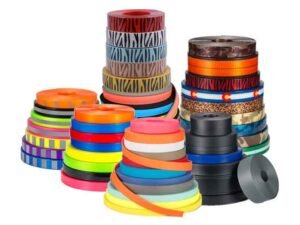
Crafting a reliable dog harness starts with materials. You’ll need webbing—nylon for strength, polyester for weather resistance, or cotton for softness—plus metal buckles, welded D-rings, 3–5 mm padding, and heavy-duty bonded nylon thread. High-quality components cost a bit more up front but yield a harness that lasts through tugging, washing, and sun exposure with no surprises.
When I first made my own dog harness, I was amazed at how big a difference material choice makes. Here’s the breakdown:
| Material | Tensile Strength (lb) | Weight (g/m) | Cost (USD/m) | Best For | Drawbacks |
|---|---|---|---|---|---|
| Nylon | 1,500–2,000 | 40–50 | 0.50–1.00 | Active dogs, water play | Can feel stiff on tiny breeds |
| Polyester | 1,200–1,600 | 45–55 | 0.60–1.20 | UV & weather resistance | Slightly heavier |
| Cotton | 400–600 | 35–45 | 0.40–0.80 | Sensitive skin, fashion harness | Wears faster, absorbs moisture |
| Webbing Mix | Varies (nyl/poly) | 50–60 | 1.00–2.00 | Custom patterns | Pricier, lead times can be longer |
- Webbing Essentials
- Nylon webbing is the gold standard: water-resistant, quick-drying, and can take a dog’s full-body pull with ease (think 10× your dog’s weight). Spending $0.75/m in bulk can net you 100 m at under $60—perfect if you’re making dozens of harnesses.
- Polyester stands up to sun and rain like a champ. Outdoor brands swear by poly when they need colors that last. You’ll pay around $0.80–1.10/m, but that’s peanuts when you consider harnesses often get bleached by sunshine.
- Cotton feels as comfy as your favorite T-shirt, but it only holds about 500 lb before stretching. Great for small dogs or photo-op harnesses, yet expect fibers to fluff up after a few months if you wash often.
- Hardware that Holds Up
- Quick-release buckles: Plastic can work, but I recommend metal (zinc alloy or stainless steel) for any dog over 20 lb. Metal buckles and sliders average $0.30–0.50 each in small lots; in bulk orders with Szoneier, that drops to $0.10–0.15.
- D-rings: Welded stainless rings handle the leash without warping. A 1-inch ring will safely take 400–600 lb—way more than a 30 lb terrier’s pull. Budget $0.20–0.40 per ring.
- Padding & Comfort
- Choose a neoprene or closed-cell foam layer at 3–5 mm thickness. This prevents chafing where webbing meets fur. A 50 cm × 150 cm roll goes for about $10–15, enough for multiple harnesses.
- If you really want to pamper a senior pup or sled dog, look for 5–8 mm memory-foam inserts. Just note they add bulk and weight (~50 g extra per harness).
- Thread & Stitching
- Use bonded nylon or polyester thread rated at 30–50 lb breaking strength. It doesn’t fray, even after heavy rain or repeated launderings.
- I always double-thread my machine and use a size 16/100 heavy-duty needle. One stitch failure could turn a fun walk into a frantic chase!
- Consumables & Extras
- Tailor’s chalk and quilting clips keep that webbing from twisting when you sew.
- A small sample pack of colored webbings (approx. 2 m each) costs around $10—handy for prototyping patterns before ordering 100 m rolls.
Pro tip: Ordering everything together from a factory like Szoneier can slash your total material cost by up to 30 %—and they’ll even provide free design mockups so you know exactly what you’ll get.
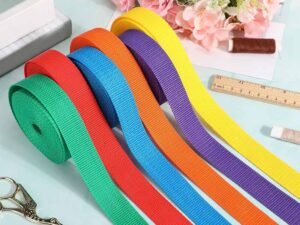
Which Webbing Styles Are Best for Dog Harnesses?

Select webbing based on activity and comfort: nylon for durability, polyester for UV and weather resistance, cotton for a soft, breathable feel, and patterned mixes (nyl/poly) for style. Each material’s specs—like tensile strength and weight—guide your choice. Balance durability, aesthetics, and budget to find your pup’s perfect harness backbone.
Let’s look at real-world use cases and data so you can pick the perfect webbing:
| Webbing Type | Ideal Use | Tensile Strength | Water Absorption | UV Resistance | Approx. Lifespan |
|---|---|---|---|---|---|
| Nylon | City walks, active dogs | 1,800 lb | <5 % | Medium | 2–3 years |
| Polyester | Hiking, water sports | 1,400 lb | ~10 % | High | 3–5 years |
| Cotton | Indoor, gentle breeds | 500 lb | 20–30 % | Low | 6–12 months |
| Patterned Mix | Fashion, branding harnesses | 1,200–1,600 lb | 5–15 % | Varies | 2–4 years |
- Nylon: The Durability MVP
- Why it rocks: It handles rough play, tugs, and rainy walks without fraying.
- Comfort check: Some pups find it a bit stiff at first. I recommend breaking it in by running the edge under warm water and bending it back and forth 20–30 times to soften.
- Longevity: Expect 2–3 years as a daily ring-around-the-block harness.
- Polyester: The All-Weather Warrior
- UV resistance: Holds 90 % of its strength after 500 hours under direct UV—so your bright colors stay bright.
- Colorfastness: Unlike cotton, poly won’t bleed or fade in the wash.
- Weight: It’s roughly 10 % heavier than nylon, but for medium and large breeds, you won’t notice.
- Cotton: The Snuggle Partner
- Breathability: Cotton’s air-flow is unbeatable—perfect for short, leisurely strolls in the park.
- Wash care: Pre-wash to avoid 10–15 % shrinkage later. Line dry to keep shape.
- Fashion factor: Nothing says “pampered pooch” like a pastel cotton harness for Sunday brunch.
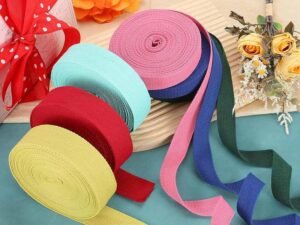
- Patterned & Specialty Webbing
- Custom prints: From camo to polka dots, you can get almost any design—but expect a 20–50 % price bump.
- Reflective stripes: Some mixes embed micro-glass beads for nighttime visibility—ideal for safety-minded owners.
- Glow-in-the-dark: Fun for evening dog parks or just making your dog stand out on Instagram.
- Width & Thickness Considerations
- Width: Match to dog size—¾″ for toy breeds, 1″ for small, up to 2″ for giant breeds. Wider webbing distributes pressure better.
- Thickness: 1.2–1.5 mm is typical. Thicker webbing boosts strength but adds stiffness.
- Cost vs. Value
- A simple 1″ nylon roll is about $0.75/m in bulk; patterned mixes often run $1.25–2.00/m.
- If your brand sells harnesses at $20–30 each, a $0.50/m difference can affect margin—so balance style with practicality.
Quick decision guide:
- Active medium/large dog? Go nylon or polyester.
- Splash-happy retriever? Polyester with quick-dry finish.
- Fashion-first Chihuahua? Cotton or patterned mix.
- Safety at night? Reflective or glow-in-the-dark webbing.
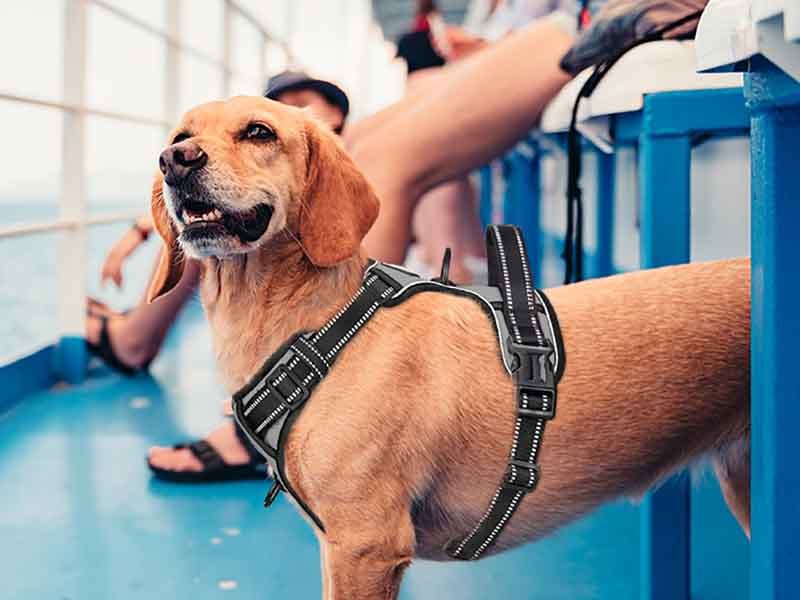
How to Measure Your Dog for the Perfect Fit?
Grab a soft tape, measure at three points—neck base, chest girth, optional belly strap—leaving about 2 cm (one finger) of slack. Reference a size chart (toy to giant breeds) and pick webbing width accordingly. For puppies, add extra length and use adjustable sliders. Precise fits prevent escapes, chafing, and ensure your dog looks—and feels—great.
I once measured my Beagle three times before stitching. Getting these numbers right saved us from late-night “harness stuck on head” TV moments. Here’s how to nail it:
Neck Circumference
- Where to measure: Wrap the tape around the base of the neck (just above the shoulders where a collar sits).
- Slack allowance: Leave about 2 cm (a finger’s width) so it’s snug but not tight.
- Data snapshot:
- Small breeds (e.g., Pug): 25–35 cm
- Medium breeds (e.g., Beagle): 35–45 cm
- Large breeds (e.g., Labrador): 45–60 cm
Chest Girth
- Critical measurement: Measure the widest part of the ribcage, just behind the front legs.
- Slack allowance: Again, about 2 cm for comfort.
- Sizing table:
| Breed Size | Chest Girth (cm) | Webbing Width |
|---|---|---|
| Toy | 30–45 | ¾″ (19 mm) |
| Small | 40–60 | 1″ (25 mm) |
| Medium | 55–75 | 1¼″ (32 mm) |
| Large | 70–95 | 1½″ (38 mm) |
| Giant | 90–120 | 2″ (50 mm) |
Belly Strap (Optional)
- Some harness styles add a belly loop; measure just behind the elbow joint and add 1–2 cm slack.
- If your design uses a belly strap, ensure it doesn’t ride up on the rib cage—or pinch under the armpit.
Puppy Growth Factor
- Under 6 months? Add 5–7 cm to chest girth and choose hardware that slides at least that much for adjustability.
- I’ve seen harnesses last an extra 2–3 months of puppy growth simply by adding sliders.
Double-Check & Record
- Write down each measurement. Label them clearly: neck, chest, belly.
- Mark your webbing cuts in chalk before snipping—once it’s cut, there’s no turning back!
Fit Test Prototype
- Before final stitching, use binder clips to temporarily hold the webbing pieces together and fit on your dog.
- Watch them sit, walk, and even lie down to catch any pinching spots.
Story moment:
When I made my first harness, I mis-measured my Cocker Spaniel’s chest by 3 cm. By the time I sewed it, she couldn’t spread her front legs comfortably and gave me “the look.” Lesson learned: measure twice, cut once.
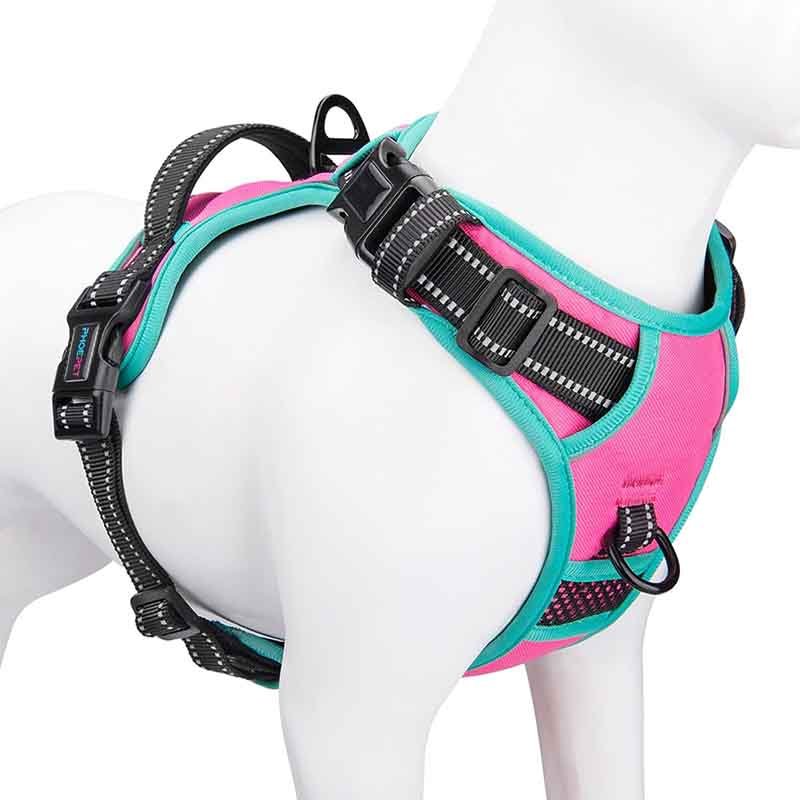
How Do You Sew a Dog Harness?

Cut each webbing piece to measured length plus stitch allowances. Fold and pin edges, then sew using a heavy-duty machine with Box-X reinforcement at buckles and D-rings. Use bonded nylon thread and run 2–3 passes on stress points. Attach hardware securely, then test by tugging at 50 kg force. A clean, reinforced stitch pattern is key to safety and longevity.
Here’s my step-by-step sewing workflow—imagine we’re side by side at the machine:
Prep Your Workspace
- Clean table: No fluff or pet hair in your stitches!
- Tools laid out: Heavy-duty sewing machine (capable of 1,000+ stitches/min), strong scissor, quilting clips, chalk, seam ripper (for oops), and a magnet tray for metal hardware.
Cut Cutting Cutting
- Formula: Cut length = Measurement + (2 × Stitch allowance) + Buffer
- E.g., a 50 cm chest strap needs 50 + (2×2) + 2 = 56 cm total.
- Chalk markings: Draw cut lines and hardware placement lines on the webbing before snipping.
Folding & Pinning
- Fold ends of webbing over buckles by 2 cm, clip in place.
- For D-rings, create a loop of 4–5 cm of folded webbing—this nests the ring snugly.
Sewing Patterns
- Box-X stitch is your go-to: a rectangle with an “X” inside. It distributes tension perfectly.
- Pass counts:
- Standard dogs: 2 passes.
- Heavy pullers (sled dogs, hunting breeds): 3 passes.
Thread & Needle
- Thread: Bonded nylon, 40 lb strength.
- Needle: Size 16/100 heavy-duty.
- Tension: Medium-high. Test on scrap webbing first—thread shouldn’t pucker fabric.
Hardware Attachment
- Slide webbing through buckle, fold, clip, then sew.
- Add D-ring loops next, ensuring they’re centered.
- Finish by sewing any decorative or reflective strips on top—just be sure not to stitch through your padding.
Reinforcement Zones
- Areas around buckles and D-rings should have an extra horizontal bar stitch and the full Box-X.
- On average, each harness uses ~30–40 cm of seam that needs reinforcement.
Quality Control
- Tug test: Hook a scale to the D-ring and pull up to 50 kg. No slipping allowed.
- Visual check: Make sure all clips are gone, stitches are even, and webbing lies flat.
Time & Efficiency
- First harness: ~90 minutes for layout, cutting, sewing, and QC.
- By harness #10: under 45 minutes if you streamline pre-cut kits.
Pro tip: Keep a small scrap pile of each webbing type. That way you can test stitch settings before you touch your main pieces—avoids ugly big mistakes.
Is It Difficult to Make a Dog Harness?

If you can sew a straight seam, you can build a harness. The biggest learning curve is hardware placement and mastering the Box-X stitch. With practice—about 2–3 harnesses—you’ll speed up to under an hour each. Plenty of hobbyists nail pro-quality on their second try. Most challenges are easy fixes: adjust machine tension, re-measure before cutting, or practice on scrap webbing.
I used to be intimidated by heavy-duty sewing, but here’s why making a harness is more approachable than you think:
- Skill Breakdown
- Basic sewing (straight seams on fabric) covers ~60 % of what you need.
- Hardware loops and reinforcement stitching (Box-X) are new but easy to learn from quick YouTube clips.
- Common “Uh-Oh” Moments Problem Cause Fix Twisted webbing Pinning too few points Clip every 1–2 cm; check before stitching Puckered stitch lines Tension too high/low Test-stitch on scrap; adjust tension dial Misaligned buckles Chalk marks erased Re-draw placement before stitching Thread breakage Dull needle or wrong thread Replace needle; use bonded nylon
- Learning Curve
- Harness #1: Expect 90–120 minutes.
- Harness #2–3: You’ll iron out tension issues and cut lengths.
- Harness #4+: Under 45 minutes—you’ll be on a roll!
- Materials Play a Role
- Using softer cotton webbing can be more forgiving than stiff nylon when you’re learning.
- Once you graduate to heavy-duty nylons and metals, your confidence will skyrocket.
- Why It’s Totally Worth It
- Customization: You choose colors, patterns, and sizing—no more one-size-fits-none.
- Savings: Retail harnesses go for $20–40; even after materials, your cost is $5–8 each once you own the gear.
- Bragging rights: Nothing beats a walk when neighbors ask, “Where’d you get that harness?” and you say, “I made it!”
- When to Call in the Pros
- If you need reflective piping sewn flush.
- When doing bulk orders (100+ pieces), factory pricing and turnaround at Szoneier beat home-sewn timelines by weeks.
Ready to Take the Leap?
We’ve covered materials, measurements, sewing, and troubleshooting—now it’s over to you. Whether you’re making a one-off harness for your own fur baby or launching a boutique pet brand, the keys are preparation, quality components, and practice.
At Szoneier, we’ve got over 18 years of webbing R&D, manufacturing, and sales expertise. From nylon, polyester, cotton, to patterned or reflective options, plus metal hardware and padding, we supply everything you need—and we offer:
- Free design mockups so your pet harness looks and fits exactly how you envision.
- Low MOQ starting at 50 m of webbing or 100 metal pieces—ideal for prototypes.
- Fast sampling & lead times, and 100 % quality guarantee on every batch.
Contact us today to discuss your custom dog harness project. Tell us your specs, and we’ll get you samples in days—so you can start crafting (or scaling) harnesses that dogs—and their humans—will love.