Skip to content
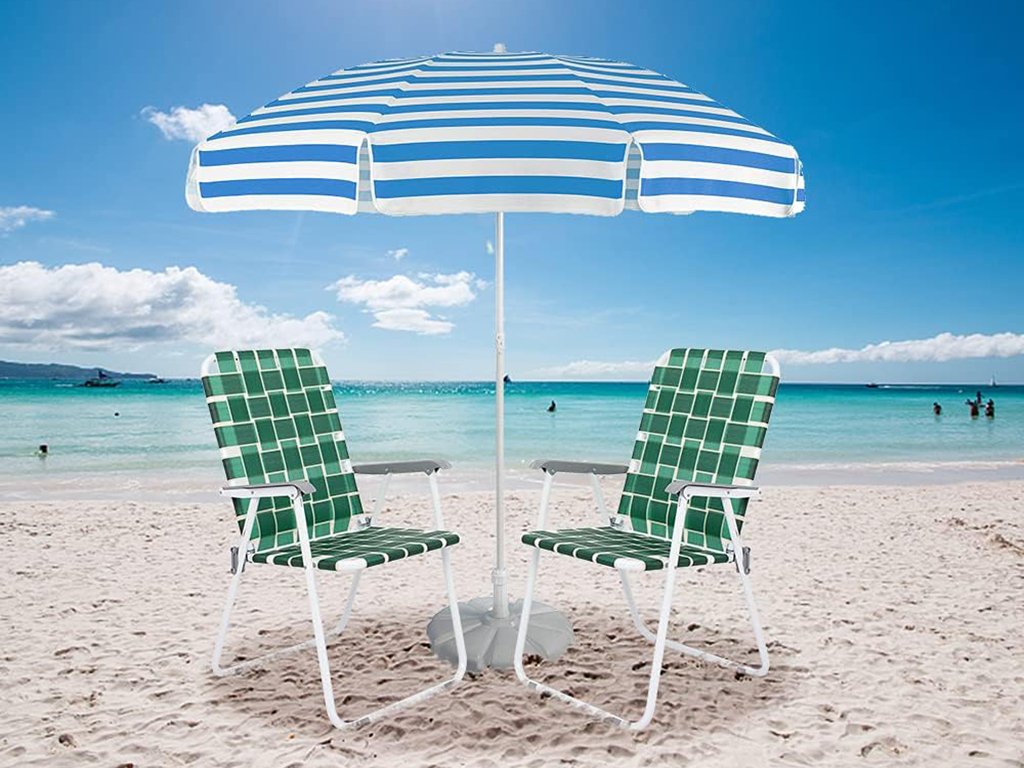
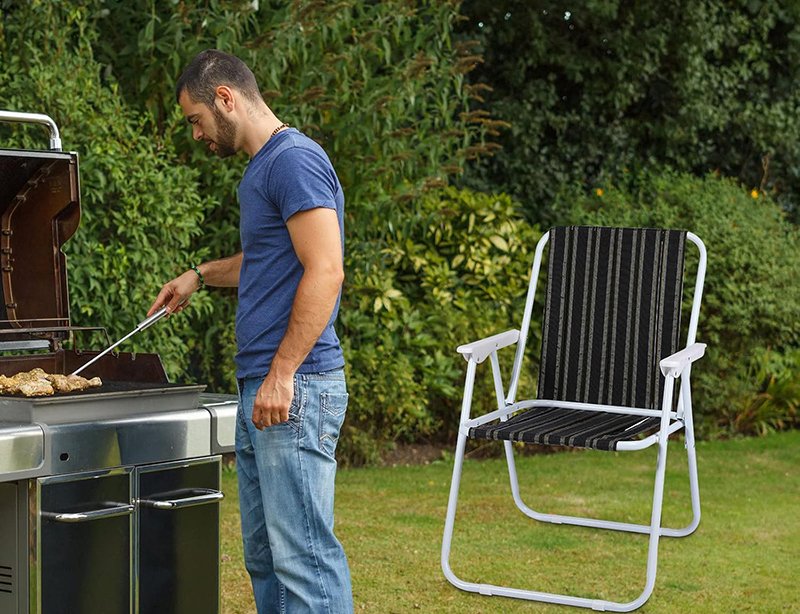
When your favorite backyard chair starts sagging, it’s usually not the frame—it’s the webbing. Over time, sun, moisture, and constant use stretch or fray those woven straps, leaving you hanging (literally). But did you know you can bring your lawn chair back to life with just a few tools and some replacement webbing?
To repair lawn chair webbing, remove the old straps, measure and cut new UV-resistant polyester or vinyl webbing, then secure and tension them using spring clips or screws and washers. Proper tension and sealants prevent future sagging.
Imagine settling in with a cold drink, only to sink halfway through your seat—annoying, right? Stick around, because we’ll walk through every step, share pro tips, and even compare materials so your chairs stay taut for seasons to come.
What Is Lawn Chair Webbing And What Materials Is It Made From?

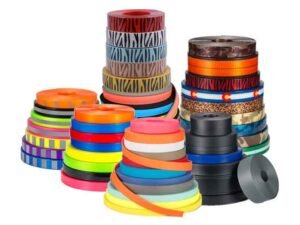
Most lawn chair webbing consists of strong woven straps in polyester, PVC-coated polyester, or vinyl, chosen for UV resistance, low stretch, and water repellency.
Polyester Webbing:
- Tensile strength: 2,500–4,000 N
- UV life: ~1,200 hours before 30% tensile loss
- Pros: low stretch, mildew-resistant, affordable
- Cons: can stiffen in cold
PVC-Coated Polyester:
- Adds a waterproof shell and smooth finish
- UV life: ~1,500 hours under direct sun
- Pros: easy to wipe clean, glossy look
- Cons: heavier, less breathable
Vinyl Webbing:
- 100% PVC or vinyl over polyester core
- UV life: ~2,000 hours (premium grades)
- Pros: highest water resistance, multiple colors
- Cons: more prone to cracking in freeze
Nylon (Less Common):
- Higher stretch, lower UV life (~500 hours)
- Used when slight give is desired (e.g., sling chairs)
| Material | Tensile Strength (N) | UV Resistance (hours) | Water Resistance | Stretch (%) |
|---|---|---|---|---|
| Polyester | 2,500 – 4,000 | 1,200 | Moderate | 3–5 |
| PVC-Coated Polyester | 3,000 – 4,500 | 1,500 | High | 2–4 |
| Vinyl | 2,800 – 4,200 | 2,000 | Very High | 1–3 |
| Nylon | 2,200 – 3,800 | 500 | Low | 10–15 |
Understanding these materials helps you select the right webbing for durability, comfort, and style when you repair or upgrade your chairs.
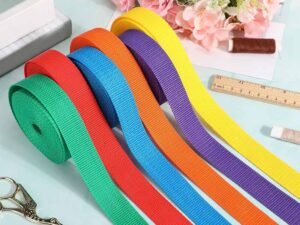
Which Webbing Widths, Weaves & Patterns Work Best For Lawn Chairs?
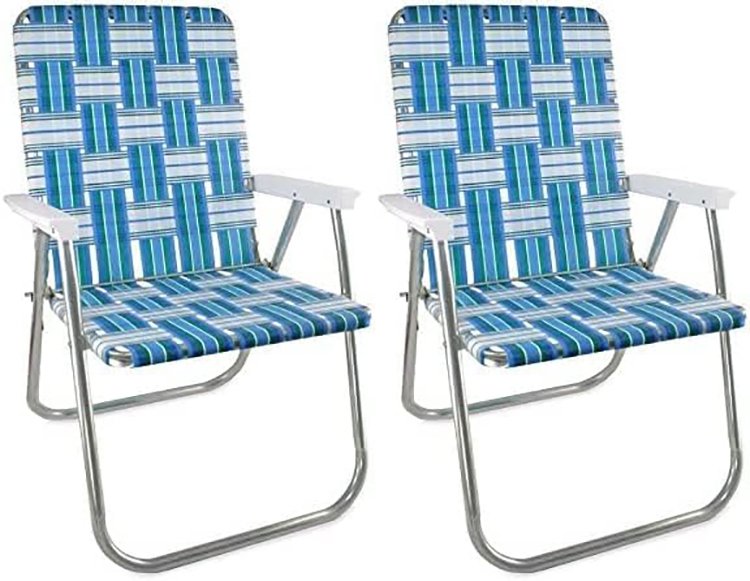
Common widths of 1″, 1.25″, and 1.5″ with plain, basket, or herringbone weaves strike the balance between support and flexibility.
- Widths:
- 1″ (25 mm): best for slim-frame, minimal-contact chairs
- 1.25″ (32 mm): universal choice, good tension distribution
- 1.5″ (38 mm): maximum load support, chunky look
- Weave Types:
- Plain Weave: simple 1-over-1, lowest stretch, easiest to tension
- Basket Weave: 2-over-2, more give for comfort, mid-weight
- Herringbone Weave: zig-zag pattern, decorative, moderate support
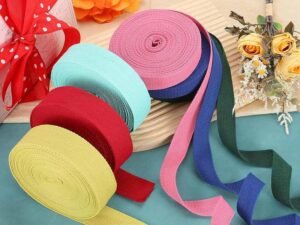
- Pattern & Color:
- Solid colors hide wear; stripes hide dirt
- Two-tone weaving (e.g., grey/white) adds dimension
- Load Distribution:
- Wider straps reduce pressure on frame tubes, prolong weld life
- Tight plain weave excels under heavy static loads (like lounge chairs)
| Width | Common Use | Pros | Cons |
|---|---|---|---|
| 1″ | Folding lawn chairs, camping gear | Lightweight, sleek look | Less load support |
| 1.25″ | Standard patio chairs, poolside use | Good comfort & strength balance | Moderate bulk |
| 1.5″ | Heavy-duty chaise lounges | Excellent support, durability | Harder to tension |
By matching width, weave, and aesthetic, you ensure your repaired webbing not only holds up but looks great too.
Can You Replace Lawn Chair Webbing? When And Why To Do So
Yes—you can replace old webbing whenever straps are sagging, frayed, or discolored. Replacement restores support, safety, and curb appeal.
- Signs It’s Time:
- Sagging more than 2 cm under your weight
- Visible frays, splits, or exposed cores
- Mold or mildew that won’t clean off
- Safety vs. Style:
- Structural integrity: damaged webbing can collapse suddenly
- Cosmetic upgrade: refresh faded or dated patterns
- Frequency:
- Residential use: every 3–5 years
- Heavy commercial use: annually
- Cost-Benefit:
- DIY replacement: $5–$15 per chair
- New replacement kits (incl. tools): $20–$50
Replacing webbing is an easy, eco-friendly way to extend furniture life instead of tossing chairs into the landfill.
How Do You Assess Webbing Wear And Identify Damage Types?
Inspect straps under tension: look for thinning, tears, mildew spots, and edge fraying. Run a fingernail along edges to detect fiber breakdown.
- Visual Inspection:
- Check for UV bleaching (white streaks)
- Look at attachment points for stress cracks
- Tactile Check:
- Feel for brittle or sticky coatings (sign of PVC breakdown)
- Wiggle straps under load—listen for squeaks indicating looseness
- Load Test:
- Sit slowly: if chair bottoms out or webbing stretches excessively, replacement is due
- Comparative Analysis:
- Compare damaged strap side-by-side with a new sample—note stiffness change
- Common Damage Patterns:
- Center stretch: indicates over-tensioning
- Edge wear: caused by abrasive frames
A thorough assessment saves time and ensures you only replace what’s necessary.
Which Replacement Webbing Types And Repair Tools Do You Need?
You’ll need UV-resistant polyester or vinyl webbing, webbing clamps or spring‐clip pliers, scissors, a flathead screwdriver, and optional grommets or washers for fastening.
- Webbing Materials:
- Choose the same type as original or upgrade for longevity
- Order 10–20% extra length for mistakes and extra tension
- Fasteners & Hardware:
- Spring Clips: quick-release, re-tensionable
- Grommets & Washers: secure with screws, resist pull-through
- Staples: heavy-duty outdoor staples for wooden frames
- Tools List:
- Sharp shears or webbing cutter
- Pliers or spring‐clip tool
- Screwdriver or nut driver (size per screw head)
- Measuring tape or ruler (inch and mm scales)
- Adhesives & Sealants:
- Marine-grade contact cement for fray prevention
- Silicone sealant around grommets to block moisture
| Item | Purpose | Approx. Cost |
|---|---|---|
| Webbing (1″–1.5″) | Replacement straps | $10–$20/m |
| Spring Clips | Clamp webbing ends, tension adjust | $5–$10 |
| Stainless Screws | Secure grommets or clips | $3–$8/pack |
| Grommet Kit | Reinforce holes, prevent tearing | $10–$15 |
| Marine Cement | Seal cut edges, prevent fraying | $5–$12 |
Gathering quality materials and tools is half the battle—plan before you start.
How Do You Safely Remove Old Webbing And Prep The Frame?
Loosen or cut fasteners, pull out strips gently to avoid frame damage, then clean and inspect frame tubes for rust or splinters.
- Step-by-Step Removal:
- Release Tension: Use pliers to open spring clips or unscrew fasteners.
- Cut Straps: If clips won’t budge, carefully cut webbing flush with frame.
- Clean Frame: Wipe down with mild detergent; remove rust with steel wool.
- Inspect Welds & Joints: Look for cracks; repair or reinforce as needed.
- Safety Tips:
- Wear gloves to prevent cuts from sharp frame edges
- Eye protection when dealing with rust or metal filings
- Frame Prep:
- Apply rust-inhibitor spray on metal frames
- Sand and touch up paint on wood frames to seal against moisture
Prepping the frame ensures your new webbing adheres flat, stays secure, and avoids future wear.
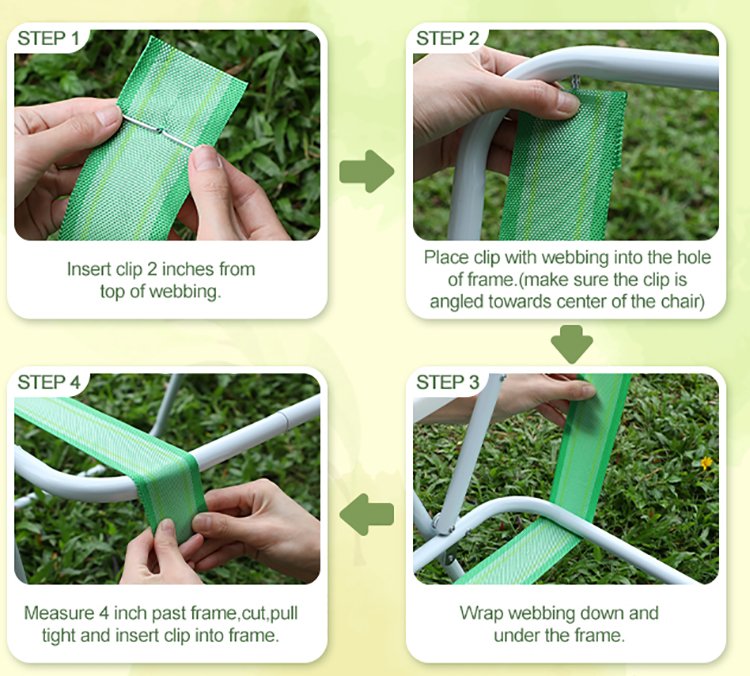
How Do You Measure, Cut, Secure & Tension New Webbing Strips?
Measure seat length plus 10 % extra, cut strips straight, slide ends into clips or grommets, then tension evenly across the frame to 15–20 N of pull force.
Further Exploration
- Measuring Techniques:
- Measure from one attachment point around frame back to start
- Use a tension gauge or spring-clip tool with numbered settings
- Cutting Tips:
- Melt ends with lighter or fray sealant to prevent unraveling
- Use a squared-off jig or block for perfectly straight cuts
- Securing Methods:
- Spring Clips: pinch webbing firmly, test tension, adjust as needed
- Screws & Washers: feed strap through grommet, secure with washer on opposite side
- Tension Best Practices:
- Aim for a slight “bounce” when pressed—too tight stresses frame
- Check neighboring strips for uniform tension
- Pro Example:
- Commercial patio chairs use tension gauge settings of “4” on clips, giving 18 N pull—ideal for 1.25″ polyester webbing.
Perfectly tensioned and secured webbing gives supportive seating and longer apparel life.
How Can You Maintain Repaired Webbing to Extend Its Lifespan?
Regularly clean, inspect for early wear, apply UV protectant, and re-tension clips at start of each season to keep straps tight and damage-free.
- Cleaning Regimen:
- Weekly gentle rinse with soap and water
- Monthly deep clean: mild bleach solution (1:10) to kill mold
- Protective Treatments:
- Spray on UV-block formula every 3–6 months
- Apply silicone lubricant to metal clips to prevent rust
- Seasonal Care:
- Store chairs indoors or under cover during winter
- Loosen tension slightly when storing to relieve constant stress
- Routine Checks:
- Tighten spring clips before each use
- Replace any single damaged strip immediately to prevent cascade failure
A little upkeep goes a long way—well-maintained webbing can last 5–8 years instead of 3–4.
Conclusion & Custom Webbing Solutions from Szoneier
Repairing your lawn chair webbing not only saves money but also keeps your backyard furniture looking fresh and supporting you comfortably. By choosing the right material, tools, and techniques—and following a simple maintenance plan—you can enjoy years of worry-free lounging.
At Szoneier, we specialize in custom webbing R&D and manufacturing, offering free design, logo customization, and sample provision for every project. Whether you need standard polyester webbing or a bespoke pattern, we’ve got you covered.
Contact us today to request a quote and get tailor-made webbing solutions for your chairs or product line!