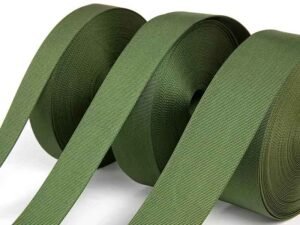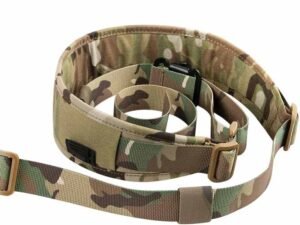
Ever tried stitching webbing only to have your seam pop under load? Webbing is the backbone of backpacks, harnesses, and heavy‑duty gear. Knowing how to sew it correctly transforms flimsy straps into bulletproof fixtures.
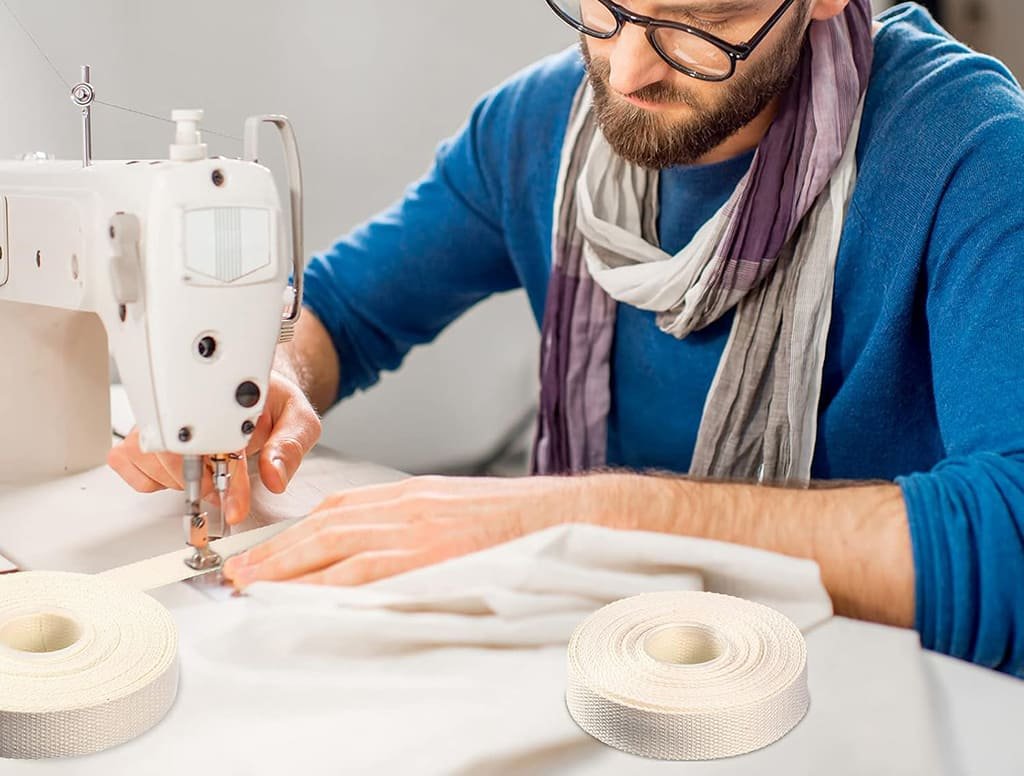
To sew webbing, gather a heavy‑duty sewing machine or strong hand‑sewing needles, high‑tenacity polyester thread, and optional webbing‑bonding adhesive. Cut and seal edges, align overlaps, then use box‑X or bartack stitches at low feed speed with a size 16/100 needle. Finish ends by heat‑sealing or binding tape for a neat, durable edge.
Imagine you’re repairing a frayed camera harness on assignment in the Alps—every stitch counts. Stick with me, and you’ll master sewing webbing that never quits.
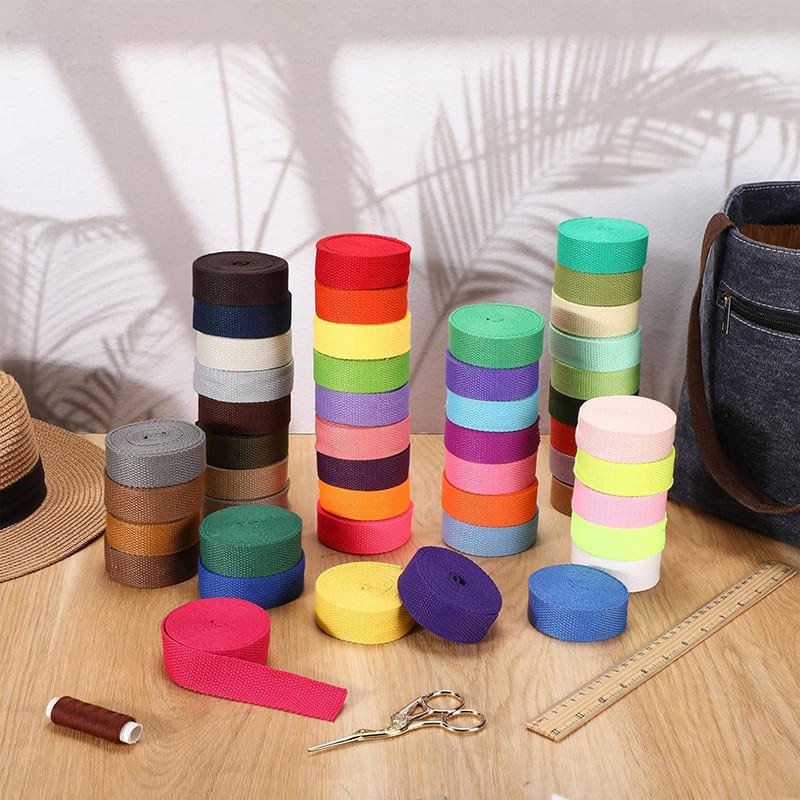
What Tools and Materials Do You Need to Sew Webbing?
You need a heavy‑duty sewing machine with adjustable presser foot, size 16/100 or 18/110 denim or leather needles, high‑strength polyester or bonded nylon thread, webbing‑specific adhesive, hot‑knife or scissors, clamps, and marking tools to cut, seal, and hold layers precisely.
1. Heavy‑Duty Sewing Machine
- Industrial vs. Domestic: Industrial machines handle thicker webbing and tougher stitches.
- Key Features: Adjustable presser foot pressure, walking foot feed, reverse‑stitch lever.
2. Needle Types and Sizes
| Needle Type | Size | Eye Size | Best Use |
|---|---|---|---|
| Denim/Jeans Needle | 16/100, 18/110 | Large | Thick webbing, multiple layers |
| Leather Needle | 16/100 | Medium | PU‑coated webbing, tight weaves |
| Universal Needle | 14/90 | Small | Light‑duty webbing or straps |
3. Thread & Adhesives
| Material | Tensile Strength | Recommended Use |
|---|---|---|
| Polyester Thread | 6–8 lbf (per strand) | General webbing seams |
| Bonded Nylon Thread | 8–10 lbf | Water‑exposed or high‑heat applications |
| Webbing Adhesive | 1,500–2,000 psi | Pre‑bond layers for extra seam strength |
Pro Tip: Always test your adhesive on scrap webbing—some glues stiffen the material.
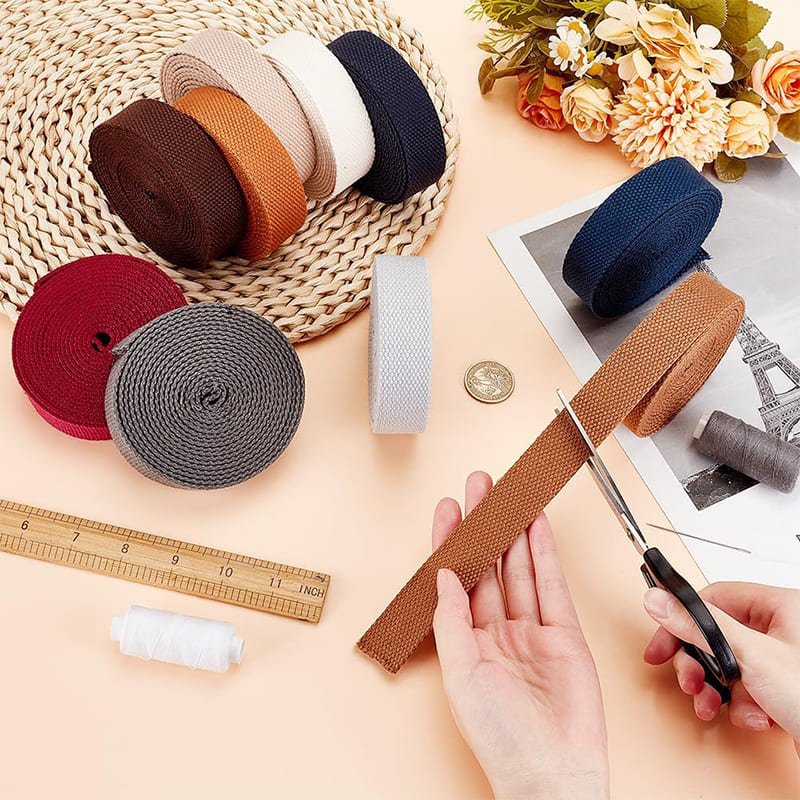
4. Cutting & Sealing Tools
- Hot‑Knife Cutter: Cuts and seals edge in one pass, preventing fray.
- Scissors + Heat Sealer: Cut first, then pass the edge by a soldering iron tip.
- Clamps & Clips: Hold layers without punching holes like pins would.
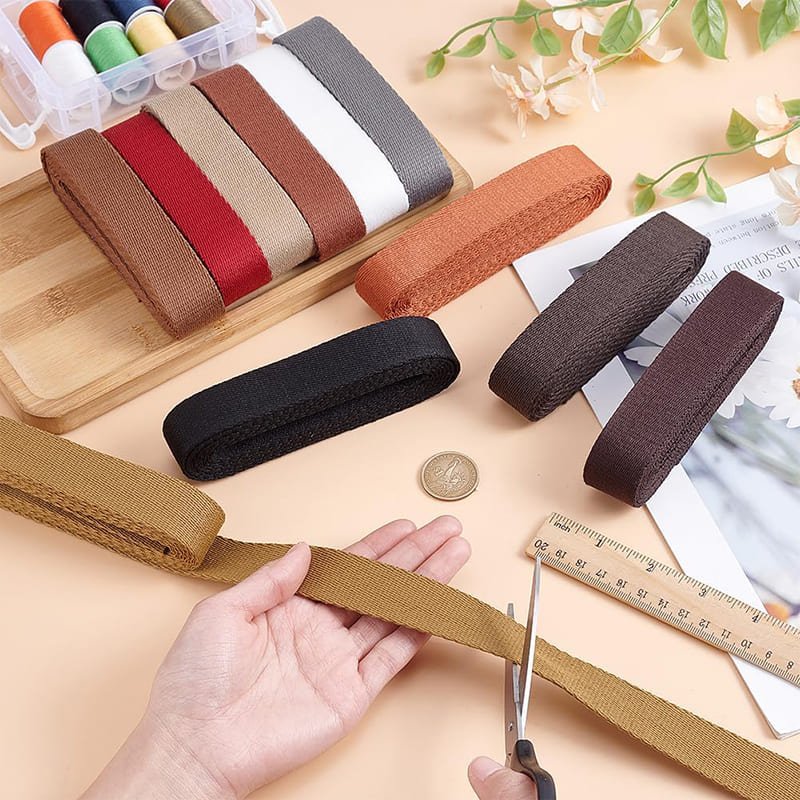
How Do You Prepare Webbing for Sewing?
Measure and cut webbing squarely, then seal edges immediately with a hot‑knife or heat sealer. Mark overlap and stitch locations with tailor’s chalk. Use clamps or binder clips to align layers—no pins, no shifting—before you start sewing.
1. Measuring & Accurate Cutting
- Tools: Metal ruler, rotary cutter, cutting mat.
- Technique: Score first, then slice in one smooth motion to avoid jagged edges.
2. Edge Bonding & Fray Prevention
| Method | Equipment | Cure Time | Pros | Cons |
|---|---|---|---|---|
| Hot‑Knife Sealing | Electric hot knife | Instant | Fast, clean seal | Slight edge melt variation |
| Heat Sealer | Soldering iron tip | 5–10 sec | Precise control | Risk of overheating |
| Adhesive Bonding | Webbing glue | 10 min | Adds seam‑prep adhesion | Requires drying time |
Critical Thought: While adhesives speed up prep, they can gum up needles—balance convenience with cleanliness.
3. Layer Alignment & Marking
- Chalk or Water‑Soluble Pencil: For marking stitch lines without permanent marks.
- Clamps vs. Pins: Clamps don’t leave holes; pins can distort heavy webbing.
- Tape Guide: Apply low‑tack tape parallel to intended seam line as a straightedge.
Which Stitch and Sewing Techniques Provide the Strongest Hold?
The box‑X and bartack stitches offer maximum strength. Set your machine to a stitch length of 2.5 mm, medium tension, and use a walking foot. For zigzag, set width to 4 mm for edge binding. Always backstitch at the start and end to lock threads.
1. Best Stitch Patterns
| Stitch Pattern | Strength Rating* | Typical Use |
|---|---|---|
| Box‑X | ★★★★★ | High‑load straps and harnesses |
| Bartack | ★★★★☆ | Strap ends, belt loops |
| Zigzag (4 mm) | ★★★☆☆ | Edge binding, decorative use |
- Based on average pull test to failure.
2. Machine Settings & Techniques
| Setting | Recommended Value | Notes |
|---|---|---|
| Stitch Length | 2.5 mm | Tight stitches prevent seam slippage |
| Thread Tension | Medium | Avoid puckering or skipped stitches |
| Presser Foot | Walking foot | Ensures even feed of thick webbing layers |
| Needle Position | Centered | Prevents fabric bunching |
3. Step‑by‑Step Sewing Workflow
- Layer Placement: Align and clamp webbing layers, using tape guides.
- Slow Feed: Sew at 300 stitches/min for accuracy.
- Backstitch Lock: 5–7 stitches backwards at start/end to lock threads.
- Quality Check: Inspect for skipped stitches or tension issues.
How Do You Join Webbing Together Securely?
Overlap webbing by 2–3 inches for box‑X stitching, or butt‑join edges with binding tape. Use a double‑fisherman’s or water knot for temporary joins. For permanent strength, apply nylon bonding adhesive under the overlap, then stitch once tacky.
1. Overlap vs. Butt Joins
| Join Type | Overlap Length | Pros | Cons |
|---|---|---|---|
| Overlap | 2–3 inches | High seam strength, easy to sew | Uses more material |
| Butt‑Join | 0 inches | Minimal material waste | Needs binding, lower strength |
2. Knot Techniques for Temporary Joins
| Knot | Ease of Tie | Slip Resistance | Use Case |
|---|---|---|---|
| Double Fisherman’s | Medium | High | Climbing slings, field repairs |
| Water Knot | Easy | Medium | Lightweight strap joins |
3. Adhesive Bonding for Nylon Webbing
- How to Bond Nylon Webbing:
- Apply a thin, even layer of nylon‑specific adhesive under overlap.
- Clamp edges for 10–15 minutes.
- Stitch through tacky bond for extra seam integrity.
- Adhesive Specs: 1,500 psi bond strength, UV‑resistant, flexible when cured.
How Can You Test and Ensure Your Webbing Seams Are Secure?
Perform a tensile pull test pulling to 1.5× expected load, simulate 50 cycles of wet–dry abrasion with sandpaper, and visually inspect for thread fray or slippage. Record results in a simple table to track batch quality over time.
1. Tensile Pull Testing
| Test Type | Procedure | Pass Criteria |
|---|---|---|
| Static Pull Test | Pull at 1 in/sec to 1.5× rated load | No seam separation |
| Cyclic Fatigue | 100 cycles at 0.75× load | ≤10% elongation gain |
2. Abrasion & Wear Simulation
- Method: Rub 20 passes of 400 grit sandpaper under 5 lb load.
- Inspection: Count loose fibers; top performance is ≤3 fibers pulled per 10 cm.
3. Visual and Hands‑On Inspection
- Thread Slip: Grasp and pull along seam—no threads should move.
- Edge Integrity: Check heat‑sealed ends for uniform finish without bubbles.
How Do You Finish Webbing Ends and Edges Neatly?
Finish ends by heat sealing with a hot‑knife or wrapping with binding tape, then topstitch 2 mm from edge. For folded tips, fold twice and bartack. When adding hardware, sew multiple box‑X stitches around buckles or D‑rings for a professional look.
1. Heat Sealing vs. Binding Tape
| Method | Equipment | Durability | Aesthetic Finish |
|---|---|---|---|
| Hot‑Knife | Electric hot knife | High | Clean, slightly melted |
| Binding Tape | Bias tape + machine | Medium | Decorative, cover stitch visible |
2. Edge Folding Techniques
- Single Fold: Fold 1 cm, stitch close to edge—quick but may fray later.
- Double Fold: Fold twice for 3 mm total thickness—neater, but bulkier.
3. Sewing Webbing to Hardware
- Position Hardware: Slide webbing through buckle or D‑ring.
- Backstitch Anchor: Sew a 3 cm bar tack at webbing exit point.
- Reinforce: Finish with a box‑X or triple straight stitch for load areas.
Conclusion:
By mastering these steps—choosing proper tools, prepping edges, selecting stitch patterns, joining techniques, rigorous testing, and neat finishing—you’ll sew webbing that outperforms expectations. Whether you’re outfitting backpacks, harnesses, or bespoke gear, precision sewing makes all the difference.
Ready to get your hands on pro‑grade webbing and custom solutions? Contact Szoneier today for free design services, complimentary samples, and tailored manufacturing expertise. Let’s bring your next project to life!