Skip to content
Ratchet tie-down straps are the unsung heroes of safe cargo transport. Whether you’re hauling furniture across town or strapping equipment on a trailer, these rugged, easy-to-use straps keep your load rock-solid. In just a few steps—and with the right technique—you can secure almost any item safely and confidently. From selecting the correct strap strength to threading the ratchet and tying off your load, this guide shows you exactly how to use ratchet tie down straps like a pro… and avoid the common mistakes that lead to damage or fines down the road. Now, buckle up—let’s dive in, and stick around for our real-world tips that could save your shipment.
What Are Ratchet Tie-Down Straps and How Do They Differ from Other Tie-Downs?
Ratchet straps combine high-strength polyester webbing with a ratcheting mechanism, delivering superior tension control compared to cam-buckle straps. They’re ideal for heavy loads or long hauls because the ratchet locks securely and prevents gradual loosening under vibration.
- History & Evolution
- From hemp ropes to polyester webbing: how cargo straps evolved since the 19th century
- Introduction of ratchet mechanisms in the 1950s to improve load security
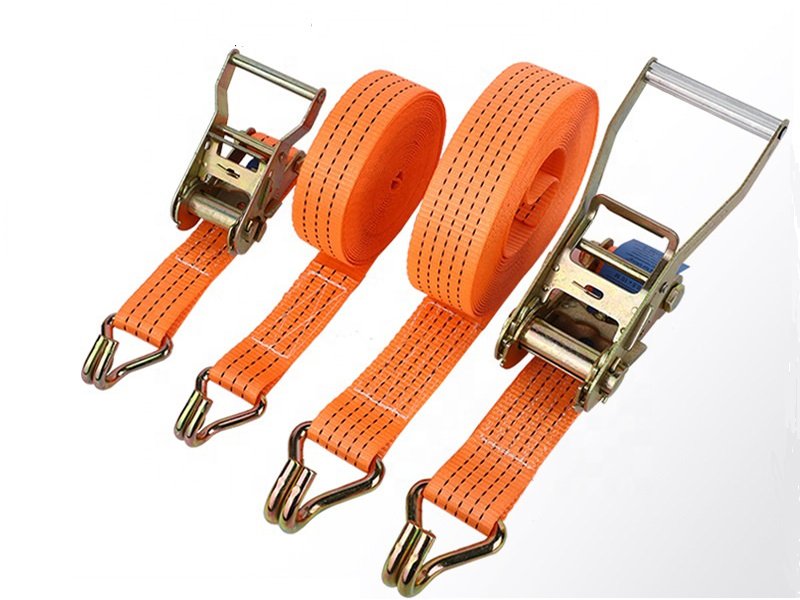
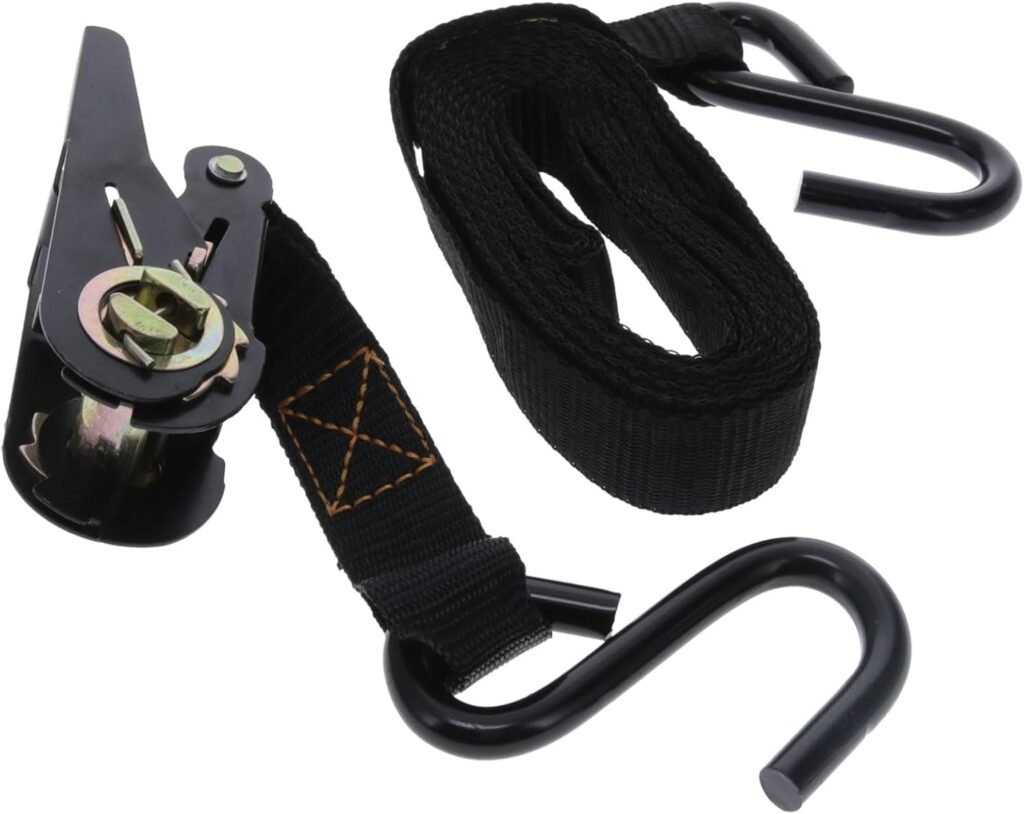
- Key Components
- Webbing Material: UV-resistant polyester vs. nylon (stretch, abrasion resistance)
- Ratchet Mechanism: Lever arm, axle shaft, locking pawl
- End Fittings: S-hooks, snap hooks, flat hooks—when to use each
- Use-Case Comparison Feature Ratchet Straps Cam-Buckle Straps Maximum Tension (lbf) 5,000 – 10,000 500 – 2,000 Self-Locking Mechanism Yes (automatic lock) No (manual hold) Ideal for Vibration Excellent Fair Ease of Release Moderate (lever needed) Very Easy
- Critical Insight: While cam-buckles are great for light-duty ties (e.g., camping gear), ratchet straps’ incremental tightening gives you up to 20× more tension—essential for heavy machinery or stacked pallets.
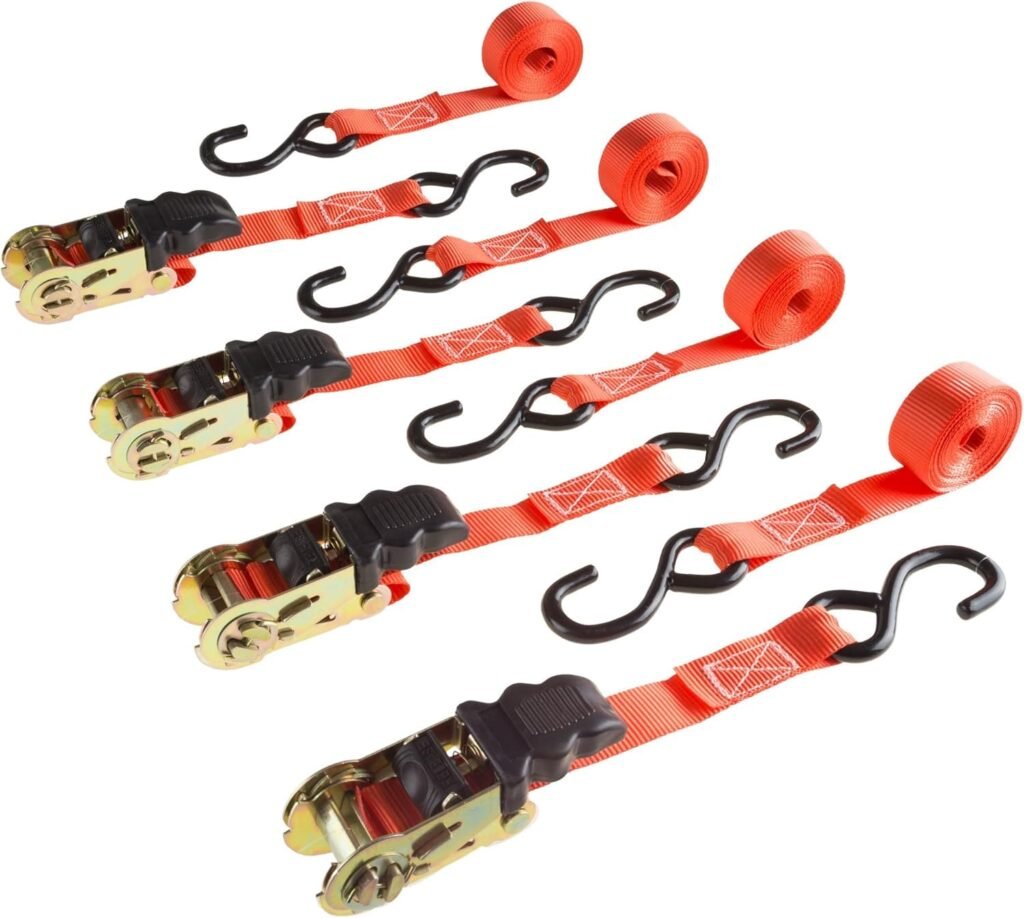
How Do You Put Together a Ratchet Tie-Down Strap Before Use?

Assemble your strap by feeding the free end of the webbing through the bottom slot of the ratchet spool, pulling snug, then locking the ratchet. Ensure the strap is free of twists and the hooks are securely anchored before tensioning.
- Step-by-Step Assembly
- Inspect Components: Check webbing for cuts, frays, or UV damage; ensure ratchet pivots smoothly.
- Anchor the Hook: Secure one end’s hook (S-hook, flat hook) to a strong point—chassis rail, D-ring, or anchor point rated for your load.
- Feed the Webbing: Thread the loose end through the ratchet’s lower “mandrel” slot from the back, leaving at least 2 in of slack beyond the spool.
- Pull Tight: Manually pull the webbing to remove slack—no twists, no wrinkles.
- Lock the Ratchet: Push the ratchet handle down until you hear a “click,” confirming it’s in the locked, closed position.
- Common Pitfalls & Fixes
- Twisted Webbing: Always visually inspect along the entire length before tensioning.
- Mis-threaded Webbing: If the strap slips under load, disassemble and re-thread following the arrow markings on the ratchet.
- Overfeeding Webbing: Leave only 2–4 in of excess to ensure efficient ratcheting.
How Do Ratchet Tie-Down Straps Work and How Do You Make Them Operate Effectively?
Ratchet straps convert lever action into high tension: each pump of the handle winds webbing onto the spool, pulling the load tighter. Operate effectively by using smooth, full lever strokes and avoiding “half pumps” that cause uneven tension.
- Mechanical Advantage Explained
- Leverage: a 10″ handle can generate up to 1,000 lbf of tension with minimal user force.
- Gear Ratio: internal gears amplify handle movement into rapid webbing winding.
- Technique Tips
- Full Strokes: Depress handle completely on each cycle to maximize torque.
- Rhythmic Pumping: Aim for 2–3 strokes per second—avoid fast jerks that stress the webbing.
- Body Position: Stand with feet shoulder-width apart; use legs and body weight for leverage, not just your arms.
- Troubleshooting
- Loss of Tension Over Time: Re-ratchet once every 50 miles or after hitting potholes.
- Stiff Ratchet Mechanism: Apply silicone spray on pivot points (avoid petroleum oils on webbing).
- Critical Insight: A well-maintained ratchet strap will wind webbing smoothly under load. If you feel “slippage,” immediately stop, release tension, and re-thread.
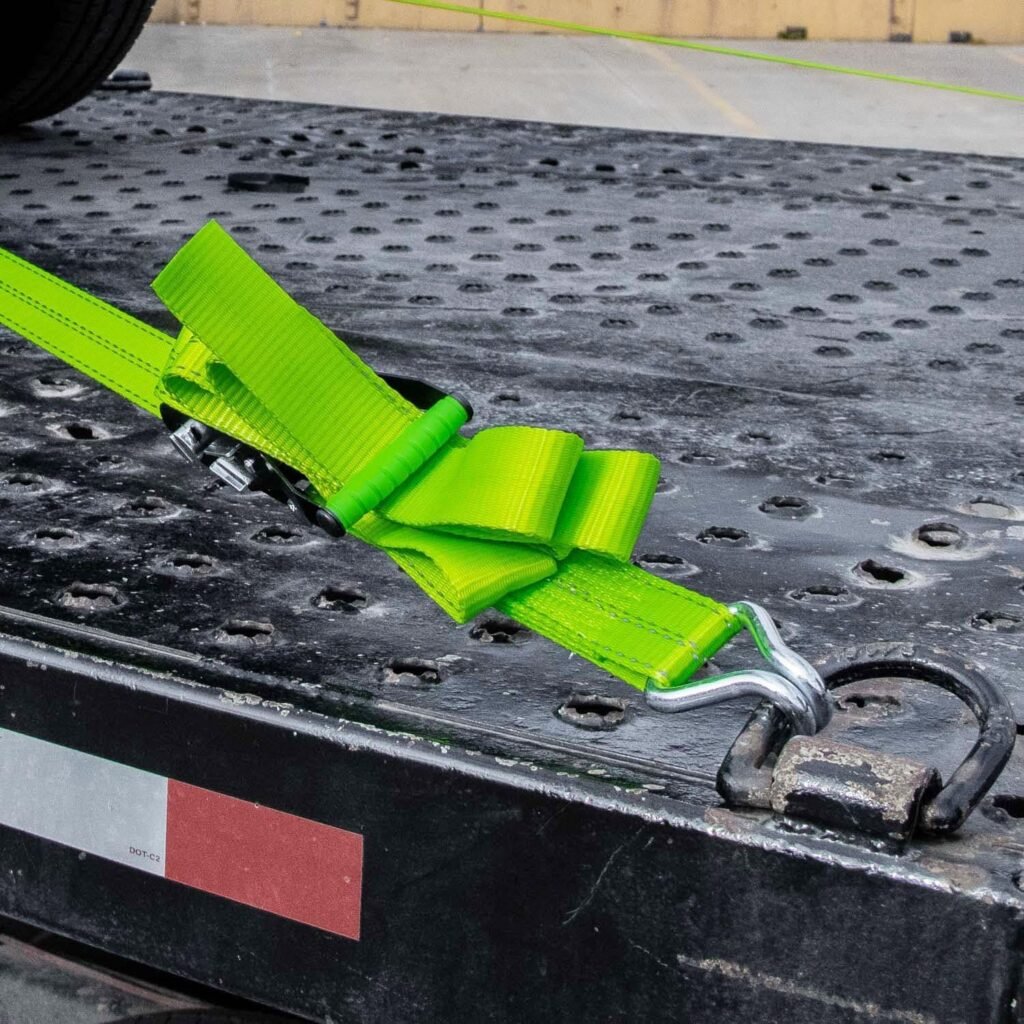
How Do You Tie Down a Load with Ratchet Straps Safely?
Position straps over or around your cargo’s strongest points, avoiding sharp edges. Cross-strap heavy items and use edge protectors where needed. Tighten until the load no longer shifts—then lock the ratchet and secure excess webbing.
- Load-Securing Strategies
- Straight vs. Cross-Strapping: Cross-straps prevent lateral movement—ideal for uneven or stack-shaped loads.
- Edge Protection: Use plastic or rubber corner guards to prevent webbing abrasion.
- Multi-Point Tie-Down: For oversized loads, use ≥4 straps at 45° angles to distribute tension evenly.
- Table: Strap Placement Guide Cargo Type Strap Placement Recommended Configuration Appliances Around base and top Two straight straps Lumber Bundles Center and ends Four cross-straps (2 × 2 pattern) Motorcycles Front wheel to rear frame Two diagonal straps + wheel chock Palletized Goods Over pallet flange Two straps at 90° angles
- Safety Checks
- Shake Test: After tightening, push/pull cargo to confirm immobility.
- Visual Inspection: Ensure webbing remains wrinkle-free and ratchet teeth fully engaged.
- Post-Launch Recheck: Stop after 10 minutes of travel to re-verify tension.
- Critical Insight: Over-securing can damage both cargo and strap—listen for fabric strain sounds. If you hear ripping or rubbing, re-adjust placement or add padding.
How Do You Tie Off Ratchet Straps and Release Them Correctly?
To tie off, lock the ratchet fully closed, then wrap excess webbing around the handle and secure with a rubber band or Velcro tie. For release, pull the release lever, open the ratchet completely, and gently pull webbing back through.
- Proper Tie-Off Techniques
- Handle Wrap: Fold the loose webbing into a neat coil around the ratchet handle.
- Securing Accessories: Use cable ties, Velcro straps, or rubber bands to keep coils from unravelling.
- Release Procedure
- Disengage Pawl: Lift the small release lever or push the release tab to unlock the ratchet.
- Open Fully: Swing the ratchet handle fully open until it lies flat against the webbing.
- Pull Webbing: Extract the webbing by hand—do not yank, which can damage the spool.
- Common Mistakes
- Half-Open Ratchet: Leaves tension on the webbing—risk of sudden release under load.
- Loose Wraps: Coil too loosely and webbing can catch in the ratchet during transport.
- Critical Insight: Always stow straps and ratchets in a dry, ventilated container—moisture left in ratchet components can corrode springs, leading to failure when you need them most.
Which Webbing Material and Strap Strength Should You Choose for Your Cargo?
Match strap width and webbing strength to cargo weight: 1″ for ≤500 lb, 2″ for up to 5,000 lb, 3″ for heavy machinery. Choose UV-stabilized polyester for outdoor use; nylon if you need slight elasticity under shock loads.
- Webbing Specifications Table Strap Width Typical WLL† Typical Break Strength Best Uses 1″ 500 lb 1,500 lb Light loads, camping gear 2″ 3,333 lb 10,000 lb Furniture, motorcycles 3″ 5,000 lb 15,000 lb Heavy equipment, industrial loads †WLL = Working Load Limit = ⅓ of break strength
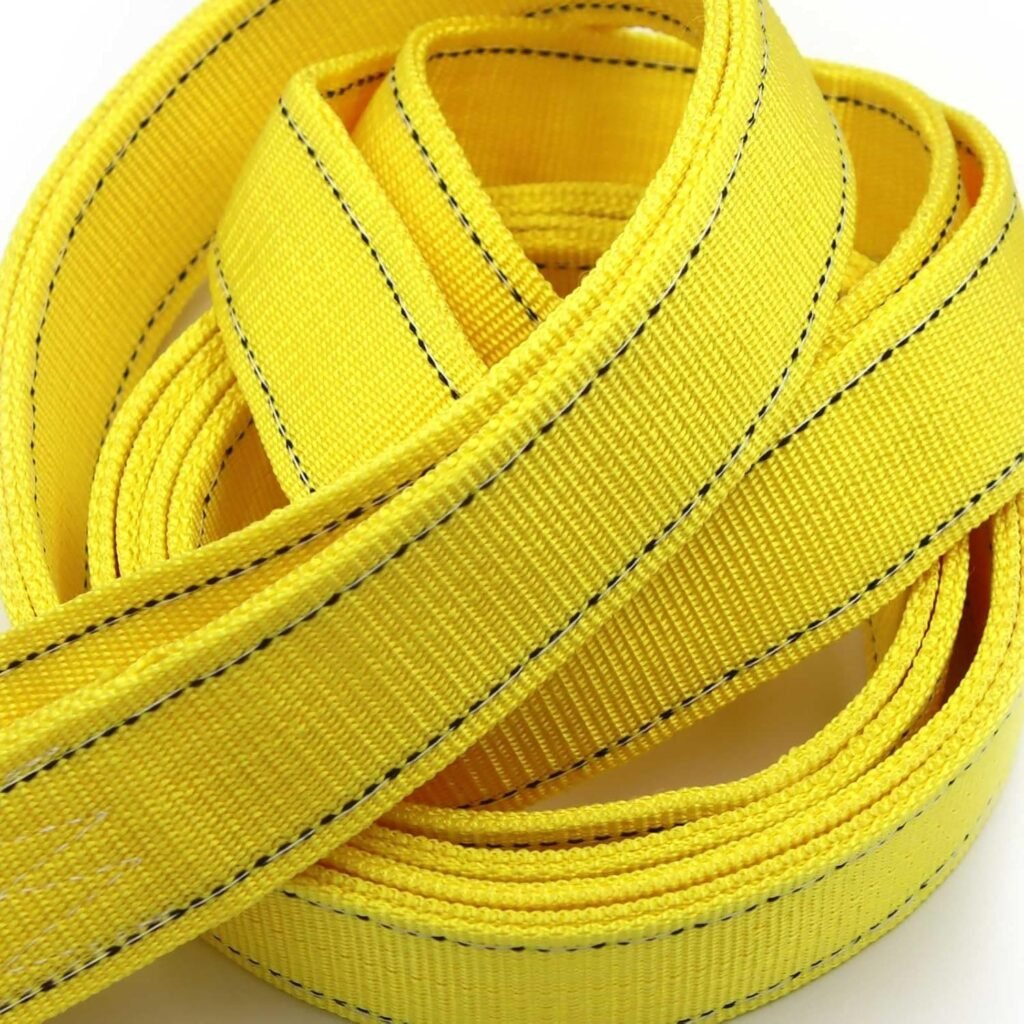
- Material Characteristics
- Polyester: Low stretch (5–10%), UV and abrasion resistant
- Nylon: High stretch (20–30%), better for shock absorption but less UV stable
- Selecting End Fittings
- S-Hooks: Quick-anchor but prone to slipping under vibration
- Flat Hooks: Secure on flat surfaces—ideal for trailers with D-rings
- J-Hooks: Self-locking on round rails—common in truck beds
- Critical Insight: Always confirm WLL and break strength are stamped on the label. Never exceed WLL in single-strap configurations.
How Should You Inspect, Maintain, and Store Ratchet Tie-Down Straps?
Regularly inspect straps for fraying, cuts, or broken stitches. Lubricate ratchet pivots with silicone spray. Store straps coiled in a dry, UV-protected bin—avoid damp or hot environments that degrade webbing strength.
- Inspection Checklist
- Webbing: No cuts > 1 mm, no fuzzy wear patches, no discoloration (UV damage)
- Stitching: All threads intact—look for loose or missing bar tacks
- Hardware: Ratchet teeth sharp and unchipped; release lever springs functional
- Maintenance Routine
- After Every 5 Uses: Clean webbing with mild soap, rinse, and air-dry
- Monthly: Apply silicone spray to ratchet pivots; wipe away excess
- Annually: Perform load test on scrap strap to verify WLL
- Storage Best Practices
- Temperature: 40–77 °F (5–25 °C) to preserve elasticity
- Humidity: <50% RH to prevent mildew
- Container: Ventilated bin, off the floor to avoid water splash
- Critical Insight: Retire any strap showing >10% strength loss in break tests—better safe than sorry when human lives are on the line.
Conclusion & Next Steps
Ratchet tie-down straps are simple in concept but, when used correctly, deliver unmatched security and peace of mind for any cargo haul. From assembling and operating your ratchet to choosing the right webbing strength and maintaining your gear—each step matters.
Ready to elevate your load-securing game? Contact Szoneier today for custom webbing solutions tailored to your exact requirements. We offer free design, complimentary samples, and quality you can trust. Whether you’re a small overseas buyer or a high-end brand, our decades of R&D and manufacturing expertise ensure your cargo stays put—every mile of the way.