

From Inquiry to Delivery
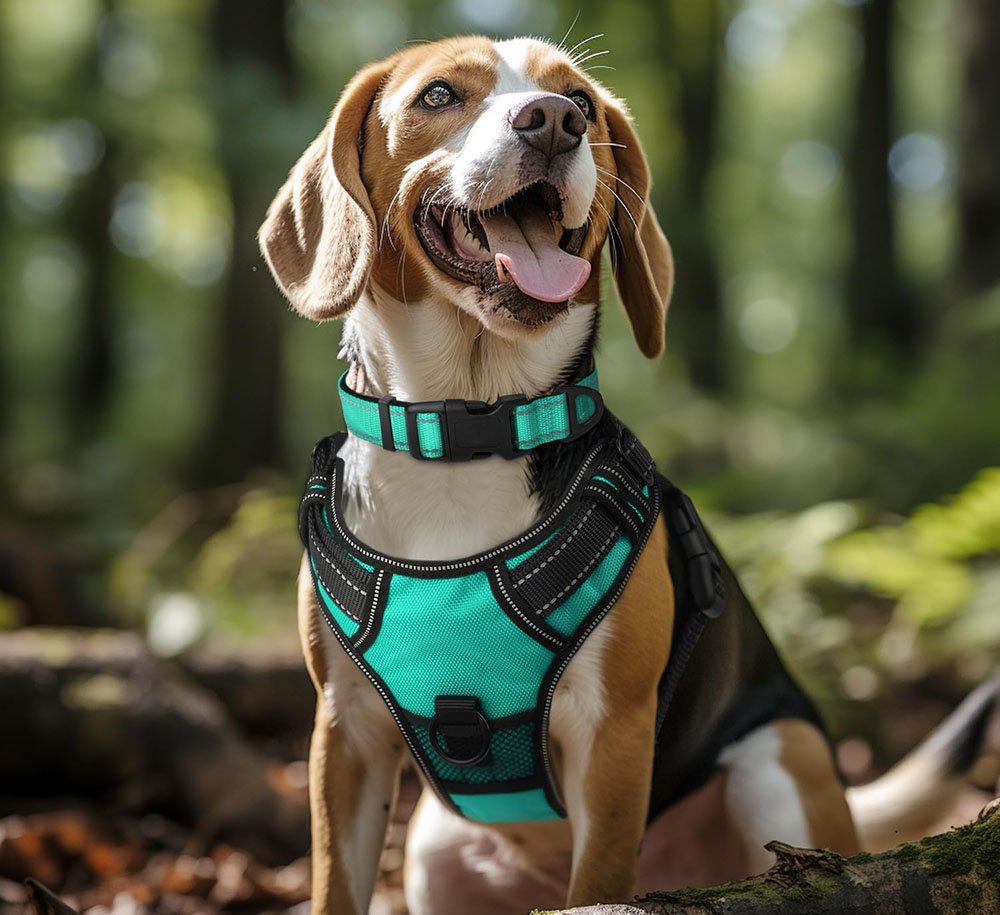
Pulling on a store‑bought collar can feel like buying a generic shoe off the rack—comfortable enough, but never quite “you.” Homemade nylon webbing collars let you tailor every inch: from fit and strength to color and branding.
To make a dog collar with nylon webbing, gather 1 inch‑wide nylon webbing, a side‑release buckle, a D‑ring, and suitable thread. Measure your dog’s neck plus 3 inches for adjustment, cut the webbing accordingly, fold ends with hardware in place, and sew secure straight‑stitch and box‑stitch patterns. Finish edges to prevent fraying for a durable, custom fit.
Imagine Fido trotting in a collar that matches his personality—vibrant teal webbing with a custom‑embroidered name tag. Ready? Let’s craft a collar that’s as tough as your adventures together.
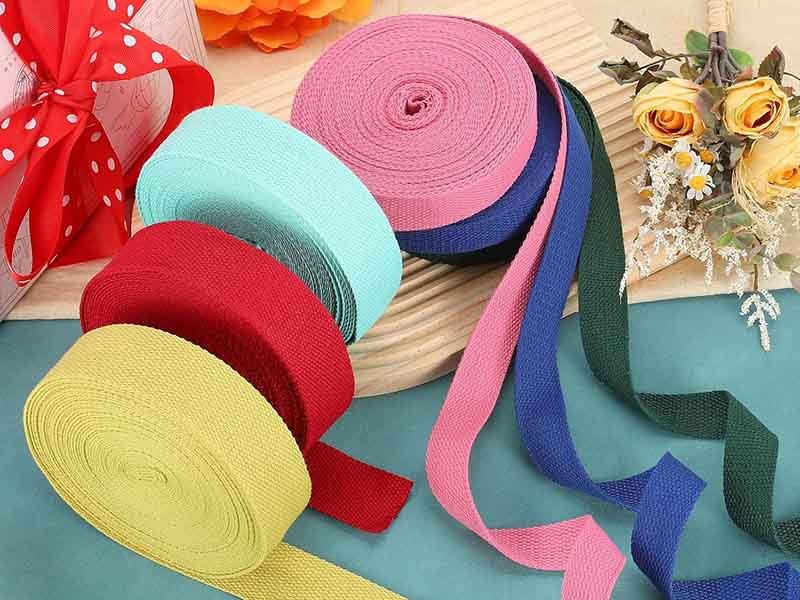
You need 1″ (25 mm) or 1.5″ (38 mm) nylon webbing, a side‑release buckle, a D‑ring, thread (polyester or nylon), scissors, lighter, sewing machine (with a heavy‑duty needle), and a measuring tape to assemble a strong, durable collar.
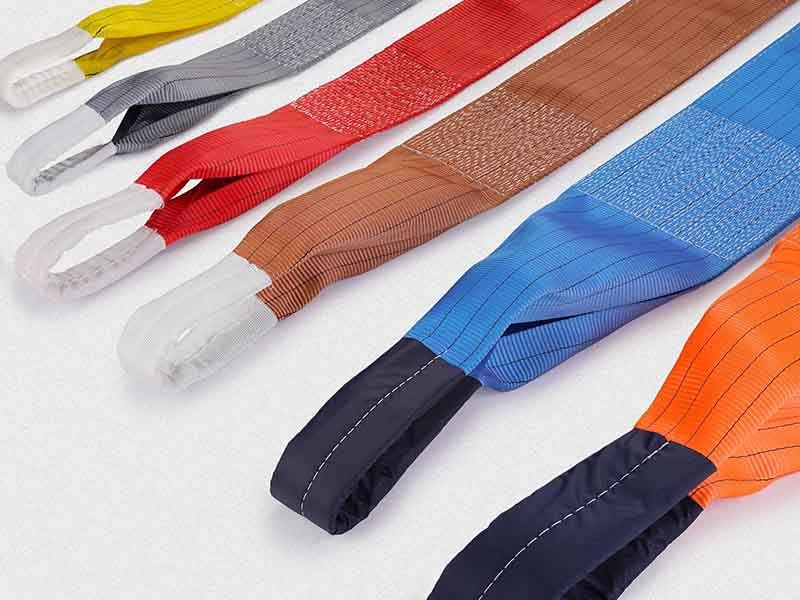
Webbing Width & Strength:
Hardware Selection:
| Component | Material | Load Rating | Price (USD) |
|---|---|---|---|
| Side‑Release Buckle | Acetal Plastic | 200 kg | $0.50 |
| Metal D‑Ring | Zinc‑Plated Steel | 400 kg | $0.70 |
Thread Choice:
Essential Tools:
Critical Tip: Investing in a walking foot attachment can ensure even feeding of thick webbing through your machine.
Measure around your dog’s neck where the collar will sit, then add 3–4 inches (7–10 cm) for overlap and adjustment. Note the minimum and maximum sizes to allow for growth or fur expansion.
Measurement Technique:
Breed Considerations:
| Breed Size | Neck Circumference (cm) | Recommended Total Length (cm) |
|---|---|---|
| Small (<10 kg) | 20–30 | 30–37 |
| Medium (10–30 kg) | 30–45 | 37–52 |
| Large (>30 kg) | 45–60 | 52–70 |
Seasonal Variations:
Critical Question: Could a 4 cm adjustment range be more universal, or does it risk too much slack on smaller dogs?
Cut nylon webbing equal to your dog’s measured neck circumference plus 6 inches (15 cm) for buckle overlap and adjustments—e.g., a 40 cm neck requires a 55 cm strip of webbing.
Cutting Formula:
Example Calculation:
| Neck (cm) | Overlap (cm) | Adjustment (cm) | Cut Length (cm) |
|---|---|---|---|
| 40 | 7.5 | 7.5 | 55 |
Allowing for Sewing:
Fray Prevention:
Design Variation:
Choose acetal‑plastic side‑release buckles and zinc‑plated steel D‑rings rated at least double your dog’s weight. Opt for metal‑to‑metal hardware for heavy‑duty breeds and plastic for lightweight or decorative collars.
Buckle Types:
D‑Ring Options:
| Type | Material | Load Rating | Best For |
|---|---|---|---|
| Standard D‑Ring | Steel | 400 kg | Most collars |
| O‑Ring | Brass | 300 kg | Decorative trims |
Swivel vs. Fixed:
Critical Angle: Could metal buckles add superior longevity despite higher cost and weight?
Thread webbing through buckle and D‑ring, fold ends by at least 2 cm, then top‑stitch with a box‑X pattern—two parallel lines plus an “X”—using a heavy‑duty needle at 3 mm stitch length for maximum strength.
Stitch Patterns:
Machine Settings:
| Parameter | Recommendation |
|---|---|
| Needle Size | 16/100 or 18/110 |
| Thread Tension | Medium‑High |
| Stitch Length | 3 mm |
Hand‑Sewing Options:
Quality Check:
Case Study: A DIYer’s collar with only straight stitches failed at 50% of rated load; box‑X lasted triple the force.
Heat‑seal cut ends, edge‑fold webbing into clean hem, add binding tape for softness, and use a seam sealer or clear nail polish on thread ends to prevent fraying and skin irritation.
End Sealing:
Edge Binding:
| Method | Material | Benefit |
|---|---|---|
| Folded Hem | Webbing itself | Low profile, durable |
| Binding Tape | Nylon bias tape | Soft edge, decorative |
Seam Sealer:
Comfort Padding:
Critical Question: Does added padding compromise adjustability on smaller collars?
Customize collars with heat‑transfer labels, woven name tapes, embroidered patches, or reflective trims. Pantone‑matched dye colors and jacquard weaving let you integrate logos and brand elements directly into the webbing.
Branding Techniques:
Reflective & Glow‑in‑Dark:
| Add‑On | Visibility Benefit |
|---|---|
| 3M™ Scotchlite Reflective | Night‑time safety boost |
| Phosphorescent Webbing | Glow after light charge |
Color Matching:
Accessory Pockets:
Ethical Angle: Consider sustainable inks and dyes to align with eco‑values.
Inspect collars weekly for frays, loose stitches, or cracked hardware. Clean with mild soap, air dry, and re‑seal ends after six months. Replace collars every 12–18 months or immediately if damage appears.
Inspection Checklist:
Cleaning Guide:
Re‑Sealing Ends:
Replacement Indicators:
Behavioral Safety: Avoid collars during unsupervised crate time—consider breakaway designs for risk environments.
With these steps, you can design and build a custom‑fit, durable, and stylish collar for any pup—big or small. Looking for premium nylon webbing, custom hardware, or personalized branding options?
Szoneier offers free design, free samples, and tailored OEM services for webbing products of all types. Reach out today to get your custom dog collar components started!

No worries, please contact us and we will answer all the questions you have during the whole process of webbing customization.
If you have your own artwork, logo design files, or just an idea,please provide details about your project requirements, including preferred fabric, color, and customization options,we’re excited to assist you in bringing your bespoke bag designs to life through our sample production process.

Copyright ©2021 Szoneier , All rights reserved.
Looking for premium custom webbing? Contact us now for competitive pricing, free samples, and expert consultation. Fill out the form below, and our team will get back to you within 24 hours!