Nylon webbing is the unsung hero behind backpacks, pet leashes, safety harnesses, and countless gear applications. Its high tensile strength, abrasion resistance, and flexibility make it ideal for both industrial and home-sewing projects. Whether you’re crafting a custom dog leash or reinforcing outdoor gear, mastering the art of sewing nylon webbing unlocks endless DIY possibilities—no special factory equipment required.
Sewing nylon webbing involves choosing a heavy-duty polyester or bonded nylon thread, setting your machine to a strong, tight stitch (e.g., 4 mm length, heavy-duty needle), and reinforcing seams with box-stitch or bar-tack patterns. Prepare the webbing by sealing cut ends with heat, align and clip layers, then sew slowly with consistent tension. Proper finishing ensures professional, wear-resistant results every time.
Once, a fellow maker struggled to stitch a harness that could hold a 200 lb load—every seam popped under stress. By the end of this guide, you’ll learn the precise settings, stitches, and finishing tricks that kept that harness—and countless others—intact, elevating your projects from amateur to pro.
What Is Nylon Webbing and Why Should You Sew It?
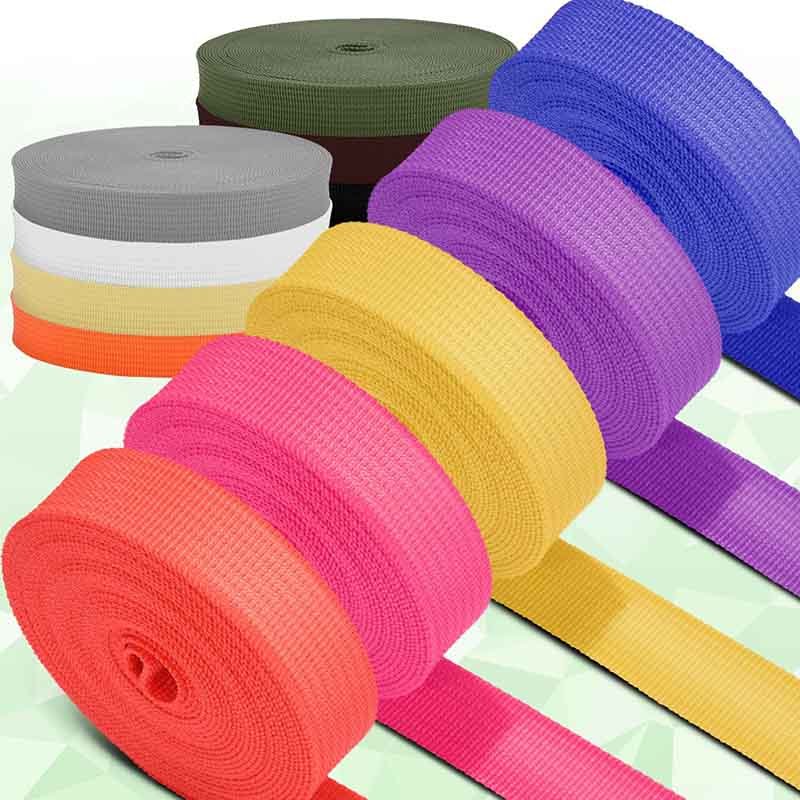
Nylon webbing is essentially a flat, woven strap made from high-tenacity nylon yarns. Think of it as super-strong tape that you can stitch, knot, or loop around just about anything. Here’s what makes it tick:
Material & Weave
- High-Tenacity Nylon Yarns: These are specialized filaments spun to resist stretching and abrasion.
- Weave Styles:
- Plain Weave: Simple over-under pattern, lightweight, flexible.
- Tubular Weave: Webbing folded into a tube—no raw edges, extra strength.
- Multi-Bar Weave: Parallel bars of weave, highest breaking strength.
Key Performance Data
| Webbing Type | Width | Breaking Strength | Typical Elongation | Martindale Abrasion Cycles |
|---|---|---|---|---|
| Plain 1″ | 1″ (25 mm) | 2,500 lb (1,134 kg) | 8 % | 10,000+ |
| Tubular 1.5″ | 1.5″ (38 mm) | 4,000 lb (1,814 kg) | 6 % | 12,000 |
| Multi-Bar 2″ | 2″ (50 mm) | 6,000 lb (2,722 kg) | 5 % | 15,000 |
Why Sew Your Own?
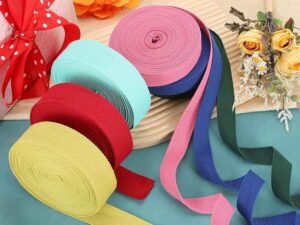
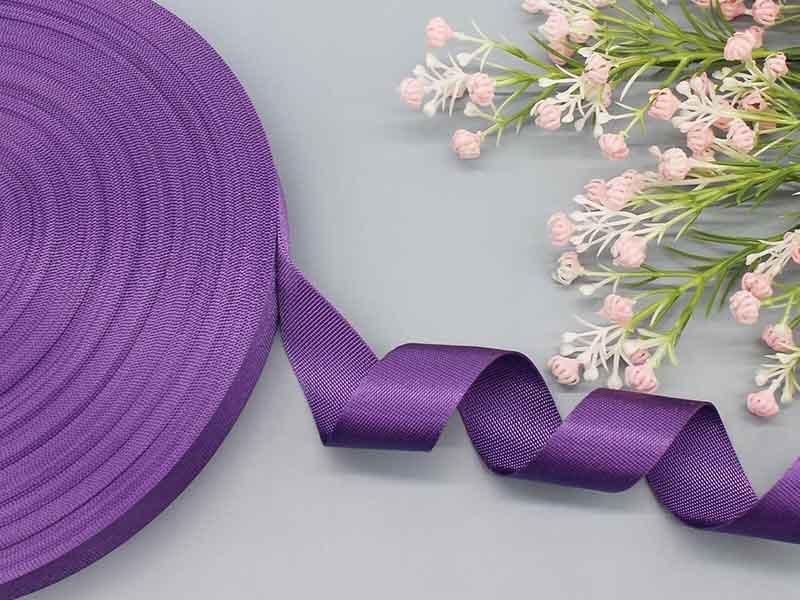
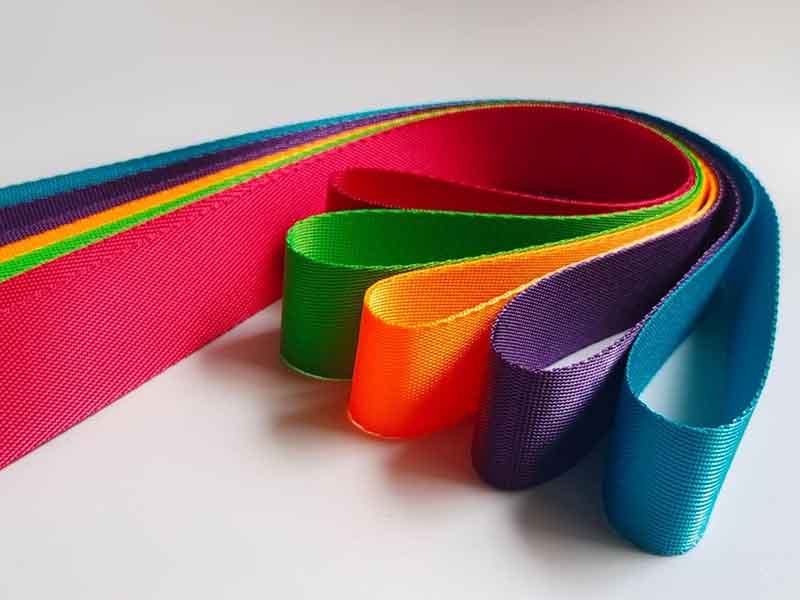
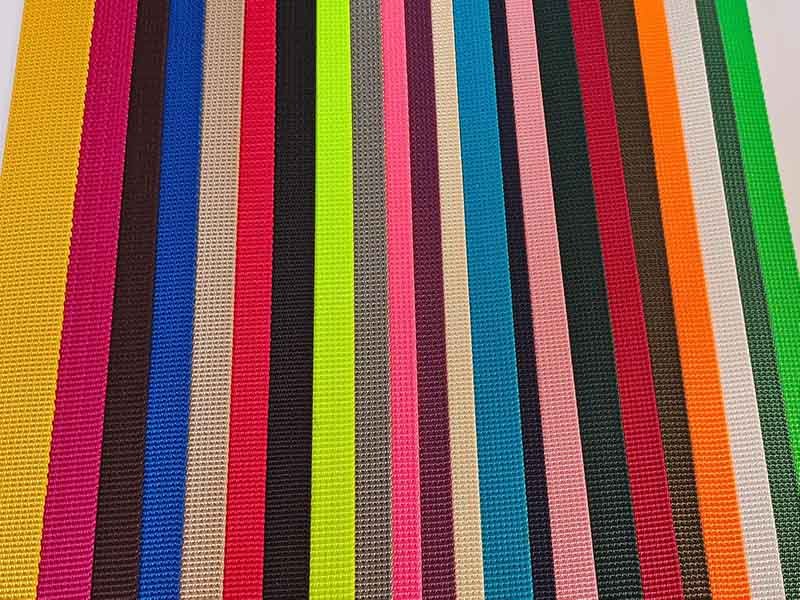
- Custom Lengths & Colors: No more guessing—cut exactly to the inch in the hue you need.
- Hardware Placement: Want that cam buckle 4″ from the end? You decide.
- Low-MOQ Runs: Need just 20 straps for a small batch? Commercial suppliers often demand 500+; DIY is yours at any quantity.
- Cost Efficiency: Raw nylon webbing can cost as little as $0.30/ft, versus $1.20/ft for pre-assembled straps.
Everyday Applications
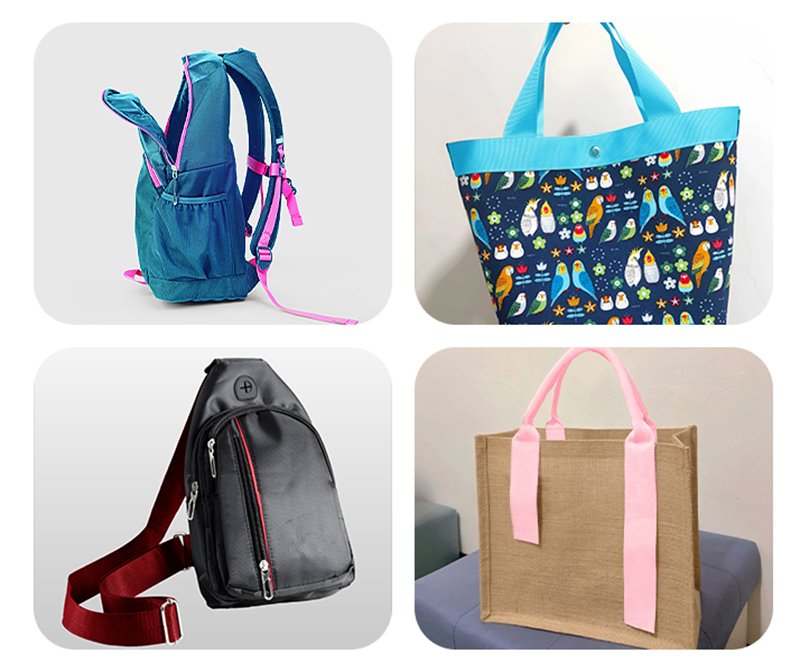
- Outdoor Gear: Backpack shoulder straps, tent guy-lines, kayak tie-downs.
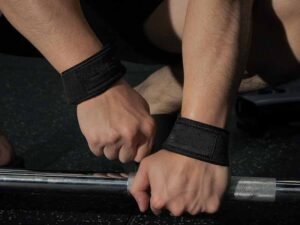
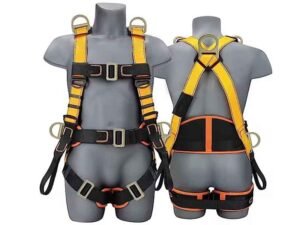
- Safety & Rescue: Climbing harness slings, fall-protection belts.
- Pet Accessories: Dog leashes, collars, harnesses.
- Industrial Uses: Cargo straps, forklift tie-downs, rigging systems.
Which Tools and Materials Do You Need to Sew Nylon Webbing?
To sew nylon webbing, you need a heavy-duty sewing machine (or hand-sewing kit), sharp leather or denim needles (size 16/100 or 18/110), bonded nylon or polyester thread, heat source (lighter or heat gun), sturdy scissors or rotary cutter, and binding clips or awl. Quality thread and needles prevent skipped stitches and frequent breakage, ensuring strong, even seams.
What Is the Best Thread for Sewing Nylon Webbing?
- Polyester vs. bonded nylon: pros and cons
- Thread denier and tensile strength data (e.g., 69 wt polyester ≈ 50 lb breaking strength)
Essential Needles & Machine Feet
- Commercial Stretch vs. Jeans/Denim needles
- Walking foot vs. roller foot benefits for feeding thick layers
Clips, Chalk, and Marking Tools
- Why pins can damage webbing
- Using chalk pens or washable markers
How Do You Prepare Nylon Webbing for a Clean, Accurate Stitch?
Preparation starts by cutting webbing squarely with a rotary cutter or hot-knife. Immediately seal ends with a lighter or heat gun to prevent fraying. Mark seam allowance (typically ½″ to ¾″) with chalk. Align layers and secure with binding clips or tape. Proper prep guarantees straight, consistent stitches and avoids bulky, uneven seam builds.
Sealing Cut Ends
- Temperature-controlled heat-gun vs. lighter technique
- Avoiding over-melting and edge hardening
Measuring & Marking
- Standard seam allowances for different applications
- Laser vs. chalk marking for precision
Layer Alignment Strategies
- Using double-sided tape vs. glue stick for temporary hold
- J-clips vs. spring clips: speed and grip comparison
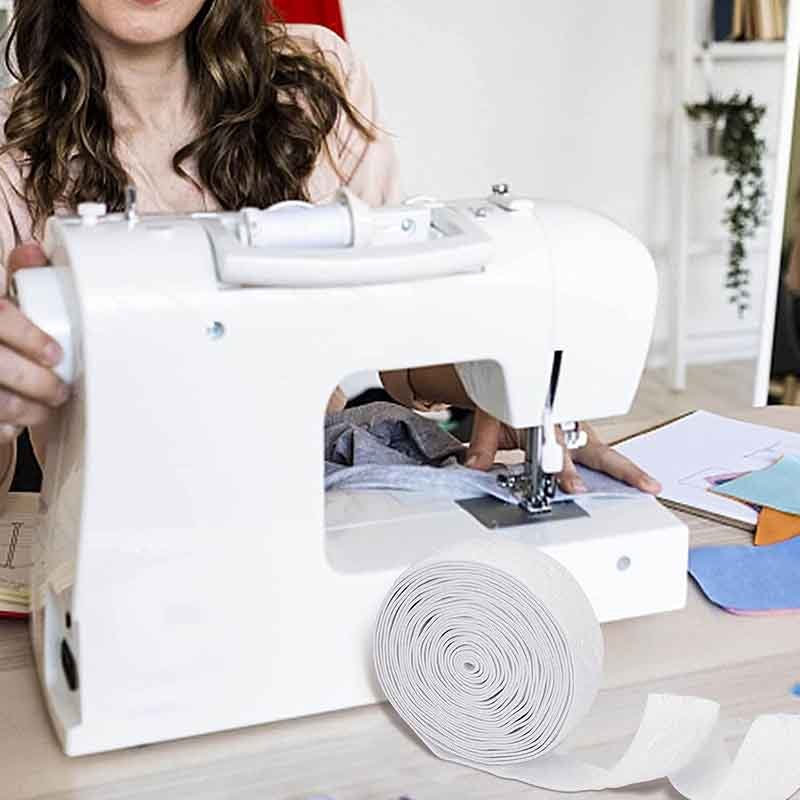
Can a Normal Sewing Machine Sew Nylon Webbing?
Yes—many domestic heavy-duty machines can handle single or double layers of nylon webbing when equipped with the right needle (16/100 or 18/110) and a walking or roller foot. Set stitch length to 3.5–4 mm and use top-loading bobbins with strong thread. For multi-layer or heavy-duty widths over 1 in., a light industrial machine yields best results, but domestic models manage most everyday webbing projects.
Recommended Machine Types and Features
- Domestic heavy-duty vs. entry-level industrial machines
- Motor torque and feed-dog strength considerations
Machine Settings for Heavy-Duty Webbing
- Stitch length: balancing strength and perforation
- Tension adjustments for thick materials
Upgrading Your Home Machine
- Installing a walking foot kit
- Calibrating presser-foot pressure
Can You Sew Nylon Webbing by Hand?
Hand-sewing nylon webbing is possible for light applications or on-site repairs. Use a sturdy tape-needle (size 20) and polyester button-thread or waxed nylon cord. Employ saddle-stitch or back-stitch patterns with 5–6 stitches per inch. While hand stitches won’t match machine consistency, they offer portable versatility—ideal for quick field fixes or artisanal detailing where machine access is limited.
Hand-Stitch Techniques for Strength
- Saddle stitch vs. running/back stitch durability tests
- Knotting strategies to prevent slippage
When to Choose Hand Sewing over Machine Sewing
- Portability and repair scenarios
- Aesthetic advantages: visible stitching as design element
Ergonomics & Tools
- Thimbles, padded grips, and lighting for marathon stitching
How Do You Sew Strong, Durable Seams on Nylon Webbing?
For maximum strength, use box-stitch or bar-tack patterns. Overlap webbing ends by at least 1 in., then sew a rectangle with an “X” inside (box-stitch) or multiple straight-back stitches (bar-tack). Stitch at 4–5 stitches per cm with reinforced back-tacking at start/stop. These patterns distribute load across a wide area, resisting shear and peel forces for straps and load-bearing applications.
Stitch Patterns for Maximum Strength
- Box-stitch: design, stitch count, pros/cons
- Bar-tack: density, repeat count for different load ratings
How Do You Join Nylon Webbing?
- Butt joints vs. overlap joints: when each applies
- Specialty hardware: tri-bar slides with sewn stops
Testing & Quality Control
- DIY tensile tests with household weights
- Industry standards (e.g., ISO 8549-2 strap strength)
What Finishing Techniques Ensure a Professional Look?
Trim loose threads, then seal seam allowances with a quick pass of a soldering iron or heat gun. Top-stitch parallel to the seam for reinforcement and visual appeal. Install hardware—buckles, D-rings, slides—using precisely measured placements. A final press under a weighted block flattens stitches, producing that polished, store-bought appearance every time.
Trimming & Sealing
- Using hot-knife vs. soldering iron for crisp edges
- Edge-paint vs. heat finish aesthetics
Top-Stitching Techniques
- Decorative vs. reinforcing top-stitch patterns
- Blind stitch for hidden reinforcements
Hardware Installation
- Measuring placement for balance and comfort
- Slip-resistant slide stops vs. sewn-in stops
What Common Mistakes Should You Avoid When Sewing Nylon Webbing?
Avoid misaligned layers by always clipping and re-checking alignment before sewing. Don’t under-tension your thread—loose stitches easily snag. Never skip back-tacking or reinforcing start/stop points; these add 30–50 % strength. Lastly, resist the urge to rush: slow, steady stitching prevents skipped stitches and machine jams, ensuring a clean, durable seam.
Misaligned Seams and Uneven Tension
- Visual inspection checkpoints
- Tension-gauge adjustments mid-project
Skipped Reinforcements
- Load-testing vs. visual confidence
- Reinforcement placement strategies
Overcoming Machine Jams
- Clearing feed-dog buildup
- Proper lubrication and maintenance
How Are Sewn Nylon Webbing Straps Used Across Different Applications?
Nylon webbing straps appear in backpacks, camera harnesses, pet collars, safety harnesses, marine tie-downs, and sports equipment. Each use demands specific widths (¼″–3″), tensile ratings (500–6,000 lb), and hardware. Custom sewing allows designers to meet exact load, width, and aesthetic criteria, optimizing both function and form in every industry—from outdoor adventure to industrial safety.
| Application | Typical Width | Breaking Strength | Stitch Pattern |
|---|---|---|---|
| Backpack straps | 1″–1.5″ | 2,500 lb | Box-stitch |
| Pet leashes & collars | ¾″–1″ | 1,500 lb | Bar-tack |
| Safety harnesses | 1″–2″ | 4,000 lb | Triple-box stitch |
| Marine tie-downs | 1″–2″ | 3,000 lb | Reinforced cross-X |
Ready to Customize Your Nylon Webbing?
Whether you’re a hobbyist stitching your first strap or a gear designer scaling up production, Szoneier offers OEM/ODM nylon webbing services with low MOQ, free design support, rapid sampling, and 100 % quality guarantee. Contact us today to request a quote and start sewing webbing that’s tailored precisely to your needs—no minimum order too small, no design too bold.