

From Inquiry to Delivery
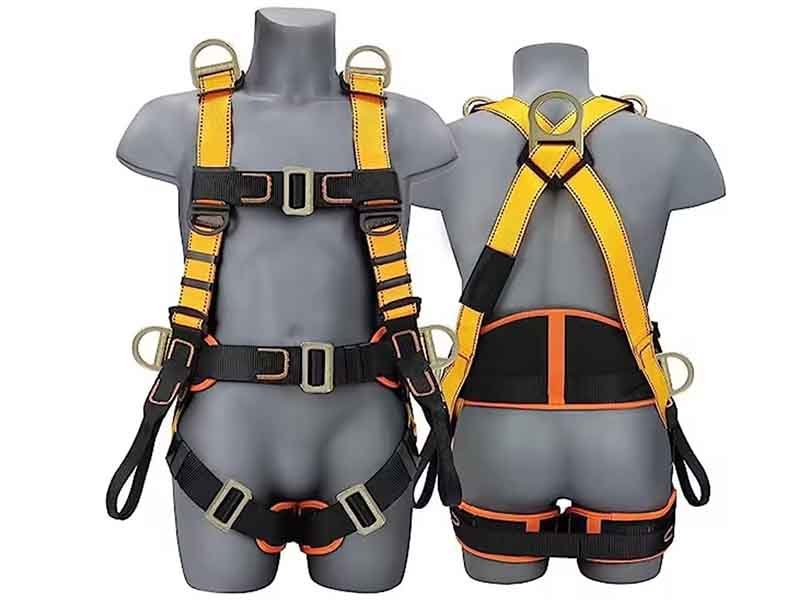
Attaching PALS webbing correctly can mean the difference between gear that stays secure on a rough trek and equipment failure at the worst possible moment. Whether you’re modifying a tactical vest for field operations or customizing a backpack for everyday carry, mastering the PALS attachment process ensures your pouches and accessories stay exactly where you need them—no slipping, sagging, or surprise detachments.
To attach PALS webbing, first accurately space and mark your grid: 25 mm (1 inch) horizontal intervals and 38 mm (1.5 inch) vertical spacing. Cut durable 25 mm webbing to length with a slight overlap, weave it through the panel and backing fabric in an alternating pattern, and secure both ends using reinforced box-X or bar-tack stitches with high-tenacity thread. Finally, perform a load test at 50 % of rated strength and visually inspect for skipped stitches or fraying. This approach guarantees both flexibility and long-term durability for modular attachments.
Imagine you’re halfway up a metal ladder, kit dangling at your side—every piece needs to stay put. Stick around as we walk through real-world scenarios, pro tips, and data-backed techniques that will keep your PALS attachments rock-solid under pressure.
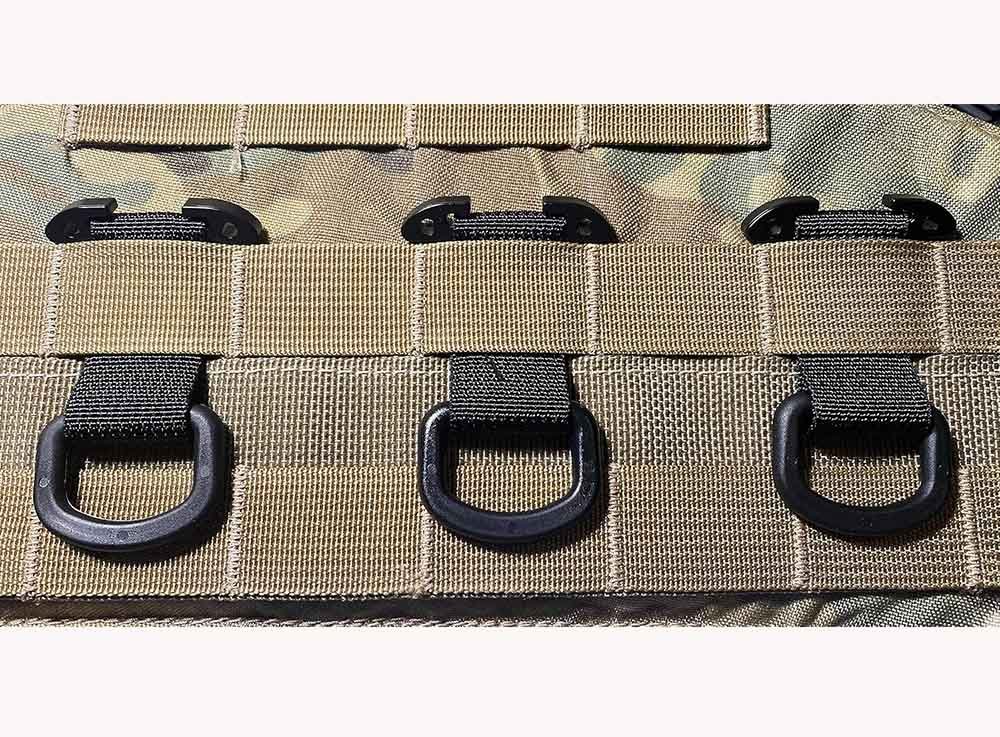
PALS stands for Pouch Attachment Ladder System. Developed by the US military in the late 1990s, it provides a standardized grid of horizontal webbing to mount modular accessories. Commercially, it’s often referred to as MOLLE (Modular Lightweight Load-carrying Equipment).
PALS Webbing Dimensions: Standard PALS webbing measures 25 mm (1 inch) in width. Rows are spaced 38 mm (1.5 inches) apart vertically, with horizontal stitching lines every 25 mm. This consistent pattern allows pouch clips, hooks, and straps to weave neatly across multiple layers without excessive bulk.
| Attribute | Dimension |
|---|---|
| Webbing Width | 25 mm (1 inch) |
| Vertical Row Spacing | 38 mm (1.5 inch) |
| Horizontal Interval | 25 mm (1 inch) |
| Typical Load Rating | 500–700 lbs |
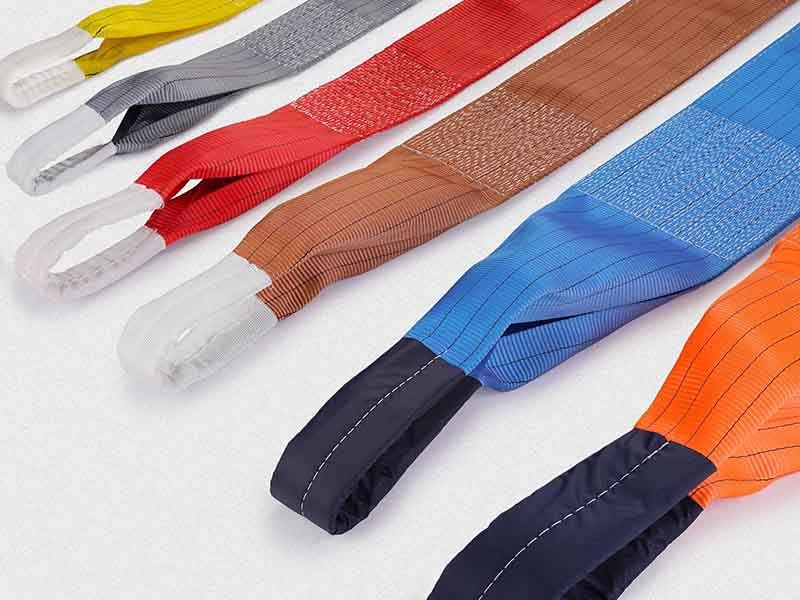
Selecting the right tools and materials is half the battle. Using subpar thread, needles, or webbing can lead to skipped stitches, weak attachment points, or thread breakage during use.
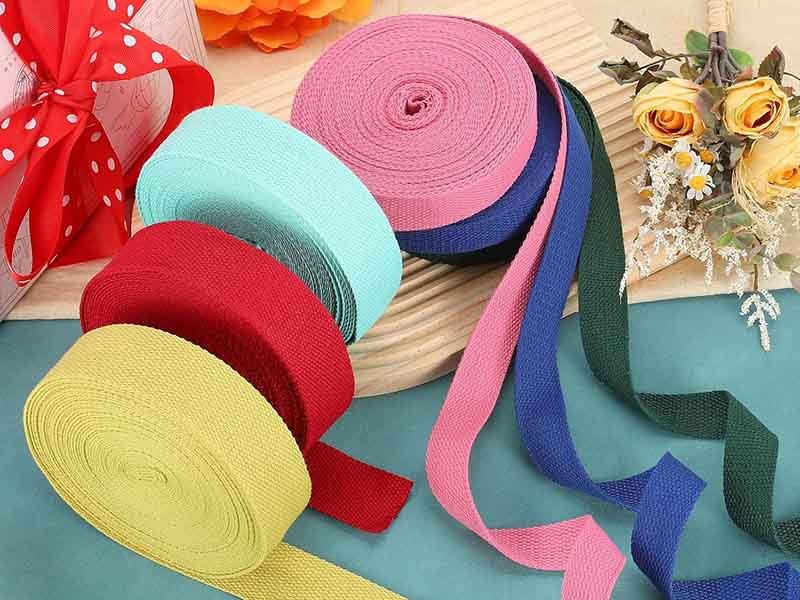
A zigzag-capable sewing machine with adjustable stitch width, #18 leather/synthetic needles, bonded polyester thread rated ≥ 50 lbs, and high-quality 25 mm webbing are essential. Clamps or a dedicated frame help maintain flat tension during stitching.
| Category | Item | Specs/Remarks |
|---|---|---|
| Machine | Sewing machine (industrial or hobby) | Must support zigzag stitch, adjustable tension |
| Needle | #18 leather/synthetic | Designed for heavy webbing and thick fabric |
| Thread | Bonded polyester or nylon | Minimum tensile strength 50 lbs |
| Webbing | 25 mm PALS webbing | Nylon or polyester, break strength ≥ 500 lbs |
| Accessories | Fabric marker, ruler, clips/clamps | Chalk or soap-marker; clamps keep layers flat |
Precision here eliminates alignment issues later. Even a 1 mm deviation compounds over multiple rows and can make pouches fight against misaligned slots.
Use a straight edge and fabric chalk to mark horizontal grid lines at 38 mm intervals and vertical stitch lines every 25 mm. Verify alignment by weaving a scrap webbing strip through before permanent stitching.
The weaving pattern provides both friction and redundancy; mis-weaving can reduce load capacity by up to 30 %.
Anchor the webbing at the top-left, then alternate weaving over panel webbing and backing fabric. At the end, fold back the loose end and stitch to itself to lock the pattern.
Stitch quality directly correlates with tear strength. A single missing stitch can halve overall seam performance.
Use a box-X pattern at both ends and a continuous zigzag along each row intersection, aiming for 6–8 stitches per cm. This maximizes seam flexibility and strength.
Avoid these pitfalls to ensure lasting performance:
Always backstitch the start and end, maintain consistent tension, and verify stitch counts. Avoid misaligned rows and subpar thread.
Routine tests and inspections catch issues before they become dangerous.
Perform a static pull test at 50 % of rated load for 60 seconds, inspect visually for skipped stitches or fraying, and re-stitch or replace failing sections immediately.
Beyond traditional sewing, alternative methods exist—but each has trade-offs in strength, flexibility, and repairability.
Rivets offer quick installation but concentrate stress around holes; adhesives are fast but degrade with temperature; laser-cut panels integrate webbing but limit custom placement.
| Method | Pros | Cons |
|---|---|---|
| Rivets | Fast, no thread concerns | Stress concentration, permanent holes |
| Industrial Adhesives | Quick, uniform bond | Sensitive to heat, limited peel strength |
| Laser-Cut Panels | Clean edges, no fraying, integrated | High setup cost, fixed grid, less repairable |
Ready to Customize?
At Szoneier, we specialize in custom PALS webbing solutions: choice of high-strength materials, free design mockups, low MOQ customization, rapid sampling, and a 100 % quality guarantee. Contact us today to request a quote and ensure your gear’s modular attachments perform flawlessly under any conditions!

No worries, please contact us and we will answer all the questions you have during the whole process of webbing customization.
If you have your own artwork, logo design files, or just an idea,please provide details about your project requirements, including preferred fabric, color, and customization options,we’re excited to assist you in bringing your bespoke bag designs to life through our sample production process.

Copyright ©2021 Szoneier , All rights reserved.
Looking for premium custom webbing? Contact us now for competitive pricing, free samples, and expert consultation. Fill out the form below, and our team will get back to you within 24 hours!