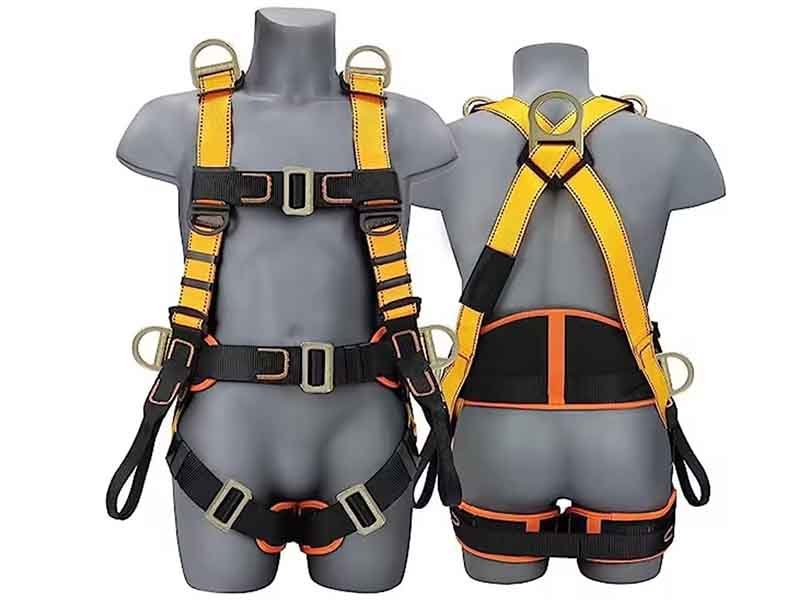
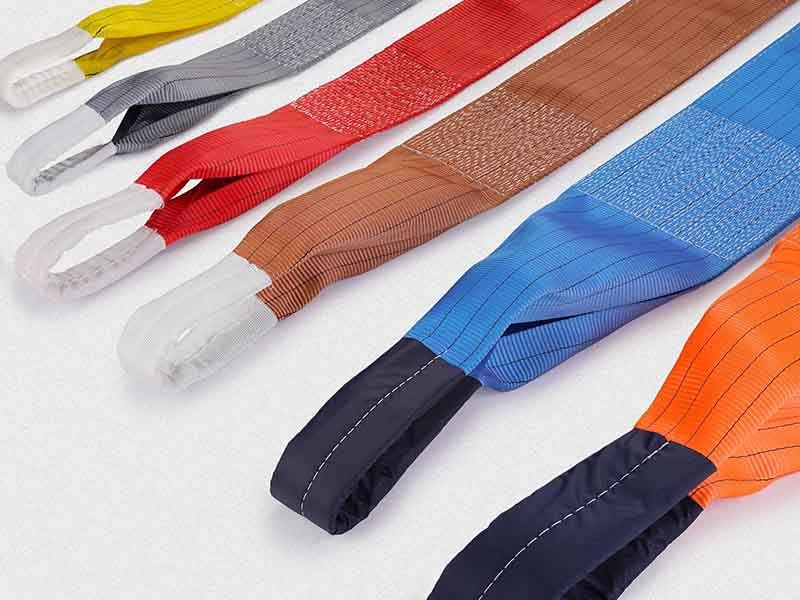
Cutting webbing may seem straightforward—snip, seal, done—but anyone who’s wrestled with frayed edges, uneven cuts, or scorching bright orange scorch marks knows differently. From backpack straps to safety harnesses, cleanly cut webbing is vital not only for aesthetics but also for durability and safety. Imagine installing a new dog leash: one bad cut and your pup’s leash unravels right when you need it most.
To cut webbing cleanly, choose the right tool (heavy-duty shears for light webbing, hot knives or soldering irons for heavy-duty materials), measure and clamp firmly, make a single decisive cut, then immediately heat-seal the edge to prevent fraying.
Whether you’re a DIYer, outdoor gear retailer, or fashion brand, mastering webbing cuts transforms a messy chore into a professional touchpoint for your product. Ready to elevate your craftsmanship? Let’s explore the tools, techniques, and insider tips that ensure every webbing edge is as precise as your design demands.
What Tools Are Best for Cutting Different Types of Webbing?
The ideal cutting tool depends on webbing material and thickness: heavy-duty shears work well for cotton or light nylon, utility knives excel on woven polyester, while hot knives or soldering irons deliver ultra-clean cuts on thick nylon and PP webbing without fraying.
Shears & Scissors
Lightweight Options: High-carbon stainless steel shears (8–10 inches) can cleanly slice through cotton and lightweight polyester webbing. Their long blades provide smooth, even cuts, minimizing jagged edges. For precision work—like narrow straps or decorative trim—smaller 4–6 inch scissors allow greater control.
Drawbacks: Shears struggle with thick or stiff webbing (e.g., 1 ⅜” polypropylene) and often require multiple strokes, risking uneven edges.
Utility & Rotary Knives
Versatility: A retractable utility knife with a fresh, sharp blade can handle medium-duty polyester or nylon webbing. You’ll want a stable cutting surface (e.g., a self-healing mat) and a straightedge guide to ensure perfect lines. Rotary cutters (45 mm) further speed up repetitive cuts but demand practice to maintain consistent pressure.
Limitations: Both leave raw edges susceptible to fraying and require a separate heat-sealing step.
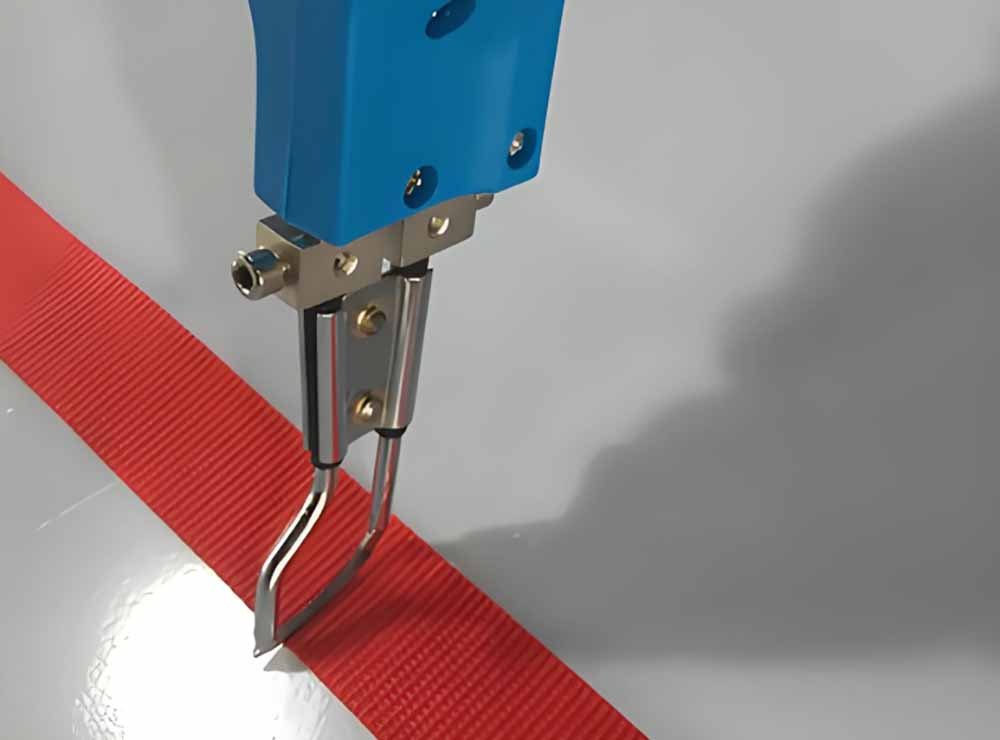
Hot Knives & Soldering Irons
Professional Finish: A hot-knife tool—essentially a heated blade—melts and cuts in one pass, sealing the edge on thermoplastic webbings (nylon, polyester, polypropylene). Soldering irons with a chisel tip work similarly but often need slower feed rates. The result? Crisp, melted edges that won’t unravel.
Considerations: These tools require proper ventilation (melting synthetic fibers emits fumes) and a reliable power source. They’re pricier but indispensable for high-volume or heavy-duty applications.
Laser Cutters
Industrial Precision: In factory settings, lasers can cut and seal simultaneously, offering micron-level accuracy. If you’re producing thousands of straps or custom designs, investing in laser cutting services (outsourced or in-house) may pay off.
Constraints: High capital cost and material limitations (some coatings may discolor).
Tool Type
Best For
Cut Quality
Sealing Needed
Approx. Cost (USD)
Shears/Scissors
Cotton, light nylon
Good, needs multiple strokes
Yes
10–25
Utility/Rotary Knife
Medium polyester/nylon
Straight but raw
Yes
5–30
Hot Knife/Soldering
Nylon, polyester, PP
Excellent, sealed
No
40–150
Laser Cutter
High-volume/industrial
Perfect, sealed
No
5,000+ (equipment)
Which Cutting Techniques Ensure a Straight and Clean Edge?
To achieve straight, clean cuts, always measure twice and mark with a contrasting pencil, clamp the webbing securely, use a single, smooth cutting stroke, and finish by heat-sealing before the edge cools.
Precise Measurement & Marking
Importance of Accuracy: A millimeter off at the buckle can throw off fit. Use a metal ruler or calipers to measure each piece, then mark with tailor’s chalk or fine-tip permanent marker in a contrasting color.
Repetitive Cuts: For batch production, create a simple jig or stop-block on your worktable so each strap is the identical length—ideal for private-label or OEM runs.
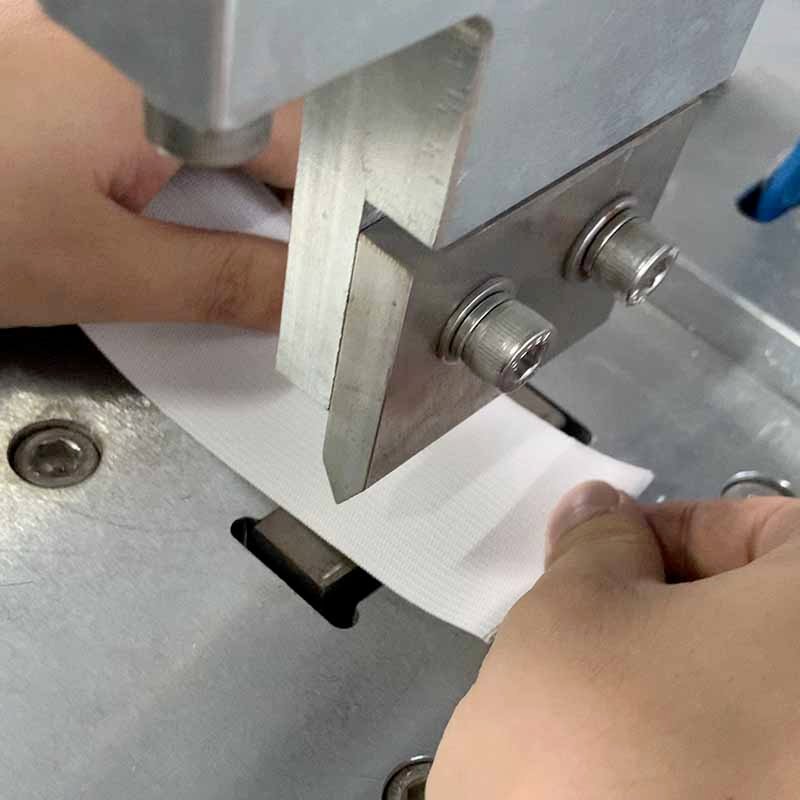
Securing the Webbing
Why Clamping Matters: When webbing shifts during cutting, you end up with skewed edges. A quick-release clamp or simple spring clothespin on your cut line will hold material steady. For delicate webbings, place a scrap of cardboard underneath to protect your table and provide compression without crushing fibers.
Single-Stroke Cuts
Technique: Whether wielding shears or a hot knife, aim to complete the cut in one continuous motion. Hesitation or back-and-forth sawing tears fibers, leading to frayed edges even when sealed.
Body Mechanics: Position your dominant hand on the tool, non-dominant hand guiding the material. Keep wrists straight to maintain blade alignment, and move your entire arm steadily rather than relying on hand or wrist flicks.
Immediate Heat Sealing
Timing: For knives that don’t seal, apply a lighter or torch within two seconds of the cut. Nylon and polyester fibers will fuse at around 260°C (500°F).
Protective Measures: Shield adjacent materials with foil or a heat-resistant pad to prevent scorch marks on your workspace or adjacent strap layers.
Quality Check
Edge Inspection: After sealing, check the cut under bright light. Look for gaps, unsealed threads, or discoloration. Re-seal any missed spots.
Flex Test: Bend the edge back and forth; a properly sealed end won’t unravel or puff up threads.
How Do You Heat Seal Webbing Ends to Prevent Fraying?
Heat sealing involves applying a flame or hot blade to the freshly cut edge of thermoplastic webbing (nylon, polyester, PP) so fibers melt and fuse, creating a durable, fray-resistant seal.
Choosing Your Heat Source
Butane Lighter: Readily available and portable—ideal for field repairs. Sweep the flame across the edge for 1–2 seconds. Keep flame at a 45° angle and move swiftly to avoid deep burns or weak spots.
Mini Propane Torch: Offers a more stable, hotter flame (~1,300°C). Great for thick webbing, but requires extra caution to avoid over-melting.
Hot Knife/Soldering Iron: Provides controlled heat via a blade or chisel tip. Simply press the heated element against the cut edge for a second. Excellent for workshop settings.
Technique & Safety
Ventilation: Melting synthetic fibers releases volatile organic compounds (VOCs). Always work in a well-ventilated space or under a fume hood.
Protective Gear: Heat-resistant gloves protect against accidental burns, and safety glasses shield your eyes from sparks or molten droplets.
Optimizing Seal Quality
Touchpoint Duration: Too brief, and fibers won’t fully fuse; too long, and you get a brittle, burnt edge. Practice on scrap strips to find the sweet spot for your tool and webbing thickness.
Edge Treatment Additives: Some manufacturers recommend coating the sealed end with a thinned polyurethane or edge glue to enhance durability—especially for heavy-duty or safety-critical straps.
Common Pitfalls
Uneven Melting: Results from moving the heat source too fast or slow. Mark a slicing line on scrap and practice consistent speed.
Overheating: Can weaken the webbing’s structural integrity. If you see black charring, reduce dwell time or lower flame intensity.
Professional Tips
Dual-Stage Sealing: For high-stress tether straps (e.g., climbing gear), heat-seal once, trim any stray fibers, then re-seal for a rock-solid finish.
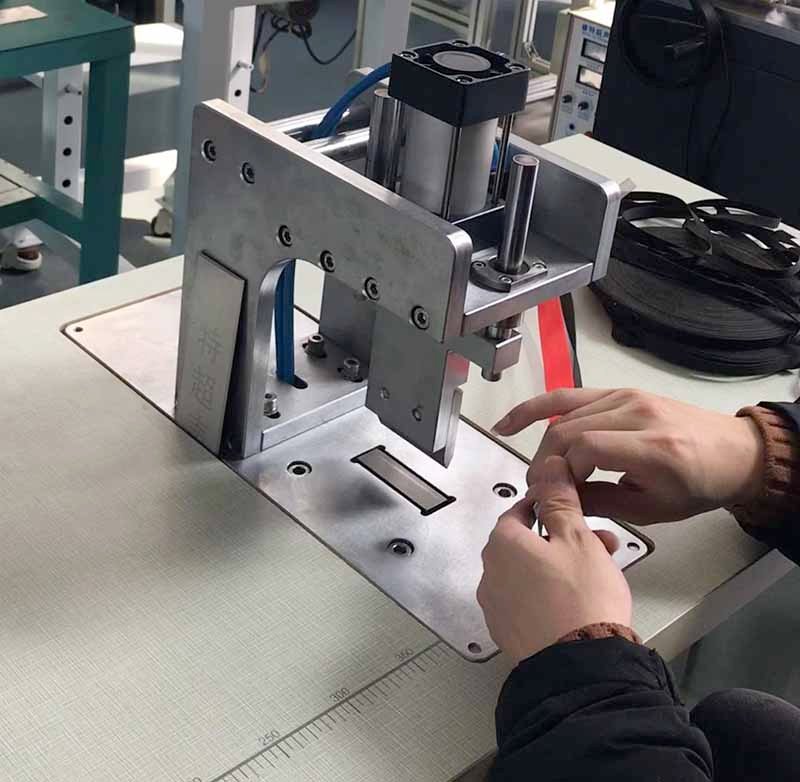
Automated Sealing Machines: In high-volume factories, specialized hot-knife tables move straps under fixed heaters—perfect consistency but costly for small-batch or hobbyists.
What Are the Safety Precautions When Cutting Webbing?
Wear cut-resistant gloves, eye protection, and work in a well-ventilated area. Secure your workpiece, keep tools sharp, and maintain clear workspace to avoid slips, burns, or inhaling harmful fumes.
Personal Protective Equipment (PPE)
Gloves:
Cut-Resistant: Kevlar or Dyneema-lined gloves guard against slipping blades when using knives or scissors.
Heat-Resistant: When sealing, a quick brush with molten fibers can blister bare hands—heat-resistant gloves mitigate that risk.
Eye Protection: Safety glasses or a face shield protect from flicking molten plastic droplets and accidental tool slips.
Workspace Organization
Clean Surface: Remove loose debris, extra tools, or unrelated materials. A tidy bench reduces distractions and accidental nicks.
Proper Lighting: Bright, shadow-free illumination (500–1,000 lux) ensures you see cut lines and molten edges clearly.
Ventilation: Position a small fan or extractor to pull fumes away from your breathing zone when melting synthetic fibers.
Tool Maintenance
Sharp Blades: Dull blades require extra force, increasing slip risk. Replace utility-knife blades after 3–5 cuts or when you notice any drag.
Inspected Equipment: Regularly check hot-knife wiring and soldering irons for frayed cords or loose connections—electrical shorts can start fires.
Safe Heat-Sealing Practices
Flammable Materials: Keep paper, cloth, and solvents away from open flames. Only have a fire extinguisher rated for electrical and chemical fires on hand.
Temperature Control: Some hot knives allow you to dial in specific temperatures—setting the correct range (260–300°C for nylon) prevents accidental ignitions.
Emergency Preparedness
First-Aid Kit: Include burn cream, sterile gauze, and bandages. Familiarize yourself with basic burn treatment: cool under lukewarm water, cover loosely, and seek medical help for serious injuries.
Fire Safety: Know your workshop’s evacuation and fire extinguisher locations. Practice drills so everyone on-site responds calmly under stress.
How Do You Choose Between Scissors, Hot Knife, and Soldering Iron?
Base your choice on webbing material, production volume, and precision needed: use scissors for cotton/light nylon, hot knives for medium to heavy thermoplastics, and soldering irons for detailed or small-batch work.
Material Compatibility
Natural Fibers (Cotton Webbing): Scissors or rotary knives suffice since heat sealing offers no benefit (cotton doesn’t melt). Finish raw edges by folding and sewing or applying a fray-stop glue.
Synthetic Fibers (Nylon, Polyester, PP): Heat-based tools — hot knives and soldering irons — both melt and cut, producing sealed edges. Scissors alone will leave edges raw.
Batch Size & Frequency
Occasional DIY Use: A butane torch and sharp scissors deliver professional results without heavy investment.
Small Business/Private Label (50–1,000 units/month): A mid-range hot-knife station (~$100–$200) balances consistency and cost.
High-Volume Manufacturing: Automated hot-knife tables or laser cutters justify capital expense with labor savings and uniform quality.
Precision & Detail
Wide Straps (1–2″): Hot knives excel on large cross-sections, maintaining flat, sealed edges in one pass.
Narrow or Decorative Straps (<⅝″): A fine-tip soldering iron provides pinpoint control, preventing over-melting on nearby stitches or patterns.
Portability & Accessibility
Field Repairs & Prototyping: Butane lighters and soldering irons run on portable fuel or lightweight electrical adapters—ideal when workshops aren’t available.
In-Plant Production: Fixed hot-knife stations integrated into cutting tables streamline workflows for assembly-line setups.
Cost Considerations
Entry-Level: $10–$30 for quality scissors and $15–$30 for utility knives.
Mid-Range: $40–$150 for handheld or benchtop hot-knife kits.
Premium: $5,000+ for laser cutting equipment or industrial sealing machines, typically outsourced by small factories.
Are There Common Mistakes to Avoid When Cutting Webbing?
Avoid measurement errors, dull blades, sawing motions, delayed sealing, and neglecting PPE. Each misstep can lead to frayed, uneven cuts or safety hazards.
“Measure Once, Cut Once” Misnomer
Reality Check: Professionals measure twice, mark once—never rush. A simple misplacement of a millimeter means ill-fitting straps, customer complaints, and wasted inventory.
Pro Tip: Mark both sides of the webbing, then fold at the mark to visually confirm alignment before cutting.
Dull Blade Disasters
Symptoms: Jagged edges, fiber “pillows” that resist sealing, and increased force that may slip off the webbing entirely.
Solution: Keep a blade disposal container handy and rotate utility knife blades frequently—plan replacements rather than waiting for failure.
Sawing Instead of Slicing
Why It Fails: Sawing motions pinch and tear individual fibers, creating fuzz that melts unevenly.
Correct Approach: A decisive, single-stroke cut—think of slicing through soft cheese in one sweep.
Heat-Sealing Delays
Consequences: Raw fibers rapidly wick moisture and dust, making proper seals harder and resulting in fuzzy edges.
Best Practice: Have your heat source preheated and within arm’s reach. Seal within two seconds of cutting.
Skipping Safety Steps
Results: Burns, inhalation of toxic fumes, and potential fires.
Checklist: PPE on, workspace clear, extinguisher at hand, and ventilation engaged before any heat sealing.
Neglecting Final Inspection
Customer Impact: A frayed strap on a premium backpack undermines brand trust—even if sewn correctly.
Quality Assurance: Implement a quick flex-and-visual test on each batch. Set a maximum allowable fray tolerance (e.g., zero visible stray fibers).
Do You Need Additional Finishing Steps After Cutting and Sealing?
Yes. For extra strength, especially on load-bearing or decorative straps, consider sewing reinforcement stitches, applying edge coatings, or adding heat-shrink tubing.
Sewing Reinforcement
Why It Matters: Heat sealing fuses fibers but doesn’t add tensile strength at the very edge. A zig-zag stitch ⅛″ from the cut line locks fibers in place, ideal for safety slings or pet leashes.
Recommended Stitches: Use polyester thread (#69 or #92) for durability, matching your webbing color for a seamless look.
Edge Coatings & Glues
Products: Fray-stop liquids (applied with a brush) or thin polyurethane coatings fill any microscopic gaps in the seal. Let the coating dry under tension to avoid curling.
Applications: Especially helpful on printed or patterned webbings where stray melt marks could mar the design.
Heat-Shrink Tubing
How It Works: Slip a short length of tubing over the cut end, then apply heat. The tubing shrinks snugly, offering a neat, colorful cap that resists abrasion.
Best For: Decorative straps, luggage tags, and applications where a visible finish is desired.
Labeling & Branding
Custom Tags: Sew or fuse on woven labels or silicone logos adjacent to the cut end for brand visibility—great for private-label products.
Laser Etching: On thick nylon, a precision laser can etch brand names or care instructions directly onto the sealed end.
Final Inspection Protocol
Checklist:
Dimensional Accuracy: ±1 mm tolerance.
Seal Integrity: No loose fibers under 10× magnification.
Batch Records: Log tool settings (blade type, heat temperature, seal time) for traceability and continuous improvement.
Conclusion
Cutting webbing cleanly is both an art and a science—one that can make or break your product’s appearance, durability, and safety. By choosing the right tools, mastering precise techniques, prioritizing safety, and applying professional finishing steps, you’ll deliver straps and webbings that stand up to rigorous use and impress your clients at every turn.
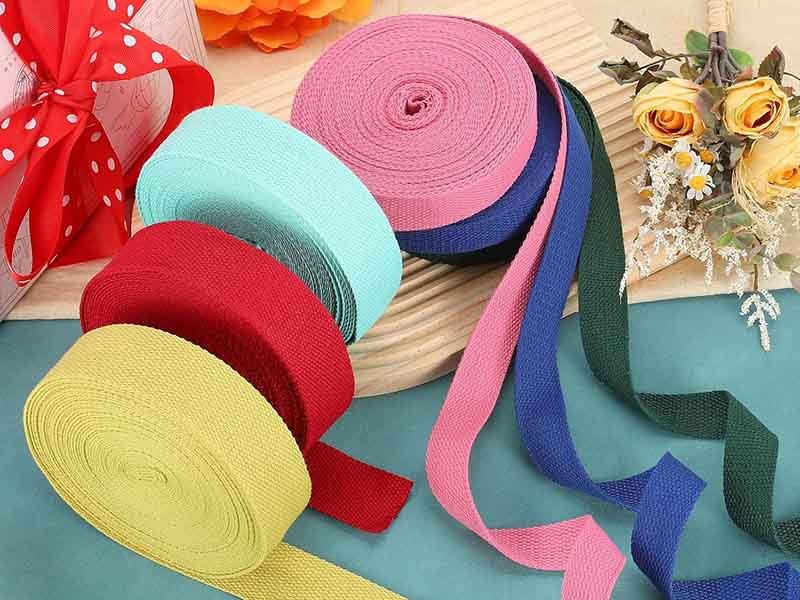
Looking to source high-quality custom webbing for your next project? Szoneier offers over 18 years of R&D and manufacturing excellence, free design services, low MOQ from just 50 pieces, rapid sampling, and 100% quality assurance. Whether you need nylon, polyester, PP, cotton, or patterned webbings for private label, OEM, or ODM, our team will craft the perfect solution to your specifications.
Contact Szoneier today to get your custom webbing quote and elevate your product line with industry-leading quality and service!
If you have your own artwork, logo design files, or just an idea,please provide details about your project requirements, including preferred fabric, color, and customization options,we’re excited to assist you in bringing your bespoke bag designs to life through our sample production process.
Looking for premium custom webbing? Contact us now for competitive pricing, free samples, and expert consultation. Fill out the form below, and our team will get back to you within 24 hours!