From Inquiry to Delivery

How to Sew Webbing by Hand:Step-by-step guide

Webbing is everywhere—on backpacks, belts, dog leashes, tote bags, and outdoor gear. But what happens when a strap breaks, a buckle needs attaching, or you want to customize your own piece? Enter the underrated art of sewing webbing by hand. Whether you’re fixing gear in the wild or adding a personal touch to your brand’s sample, knowing how to hand-sew webbing is an empowering skill that blends creativity, resourcefulness, and durability.

Hand sewing webbing is a practical and cost-effective way to repair, reinforce, or personalize straps using strong thread and heavy-duty stitching techniques. It can be done using simple tools, making it ideal for small projects or custom samples.

Let’s dive deep and learn how to master this essential skill, step by step.

What Is Webbing?

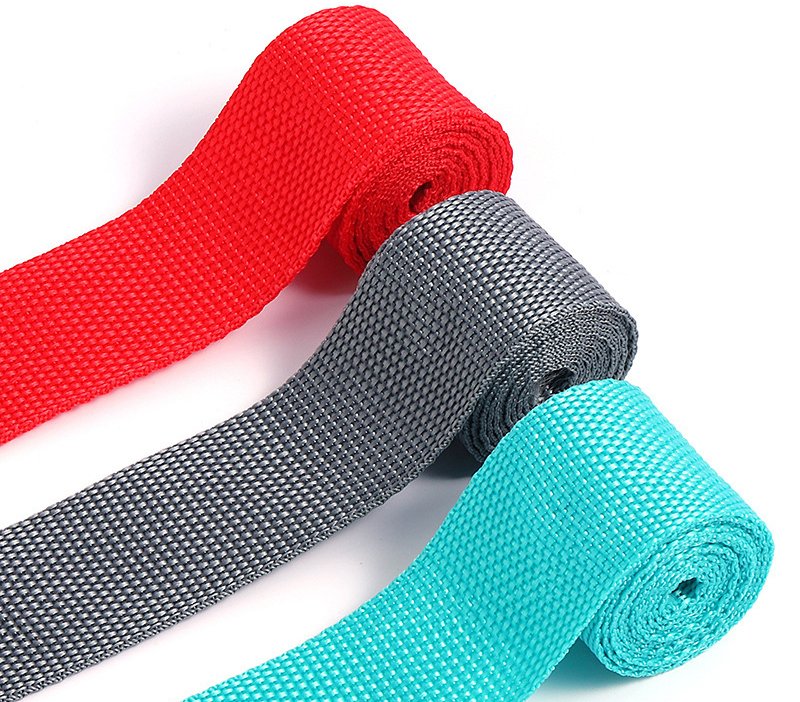
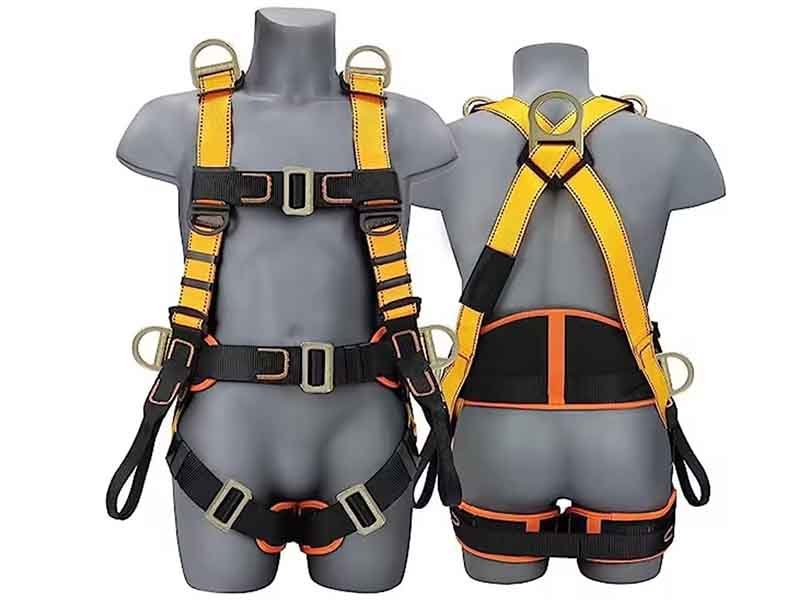
Webbing is a strong woven fabric used for straps, harnesses, and reinforcements due to its high tensile strength and durability.

Different Types of Webbing
  • Nylon Webbing: Known for its elasticity and strength; often used in climbing and military gear.
  • Polyester Webbing: Less stretchy, UV resistant, and preferred for outdoor and marine applications.
  • Cotton Webbing: Eco-friendly and soft, great for fashion items or lightweight bags.
  • Polypropylene Webbing: Budget-friendly, water-resistant, but less durable over time.
What Is the Strongest Type of Webbing?

Polyester and nylon webbing are considered the strongest for most applications. For example, 1-inch nylon webbing can hold up to 4,000 lbs in tensile strength, while polyester offers strength with better UV resistance.

Why Hand Sew Webbing?
  • Quick DIY repairs
  • Customization for branding
  • No machine access
  • Precise control in detailed work

What Materials and Tools Do You Need to Hand Sew Webbing?

You’ll need heavy-duty needles, strong thread (like polyester or waxed), scissors, a lighter, and possibly a thimble or clips.

What Kind of Needle Do You Use to Sew Webbing?
  • Leather or sail needles: These are thick, sharp, and built for tough fabrics.
  • Curved upholstery needles: Useful when working in tight spaces or round objects.
What Thread Is Used for Sewing Webbing?
  • Heavy-duty polyester thread: Strong, UV resistant, and smooth.
  • Nylon thread: Flexible and stretchier—great for dynamic stress applications.
  • Waxed thread: Excellent for hand sewing as it grips better and prevents fraying.
Optional but Helpful Tools
ToolUse
LighterSeal webbing edges to prevent fray
ThimbleProtect fingers when pushing needle
Clips/ClampsHold webbing in place
RulerFor accurate stitch lines

How Do You Prepare Webbing for Hand Sewing?

Cut to size, seal the edges with heat, and mark the stitch area before sewing.

How to Cut Webbing Correctly
  • Use a sharp scissor or rotary cutter.
  • Cut at a 90-degree angle for clean lines.
Do You Need to Seal the Edges?

Yes! Especially for nylon and polyester webbing. Use a lighter or heat tool to melt and seal the edges to prevent fraying.

Preparing for Stitching
  • Mark Stitch Lines: Use chalk or washable marker for even spacing.
  • Pre-Punch Holes (optional): Makes it easier to guide the needle through tough layers.
  • Folding Techniques: Fold the end of the webbing back for reinforcement or to attach buckles.

How to Hand Sew Webbing: Step-by-Step Guide

Align the webbing, secure with clips, use strong stitching like backstitch or box stitch, and seal ends for durability.

Step-by-Step Instructions
  1. Align and Clamp: Position your webbing where needed. Use clips to hold it in place.
  2. Seal the Edges: Lightly melt the ends to stop fraying.
  3. Thread the Needle: Double the thread for strength and knot the end.
  4. Start with a Strong Stitch: Use a backstitch or box-X stitch.
  5. Stitch Evenly: Maintain tight, uniform spacing.
  6. Secure the Finish: Tie off with a few strong passes and a knot. Optional: seal the knot with clear nail polish or a lighter.
How Do You Join Webbing Together?
  • Overlap and Stitch: Lay one end over the other by at least 2 inches and sew a box-X pattern.
  • Use Hardware: Buckles, D-rings, or sliders to bridge sections.
  • Add Fabric Backing: Reinforce with a patch of fabric or leather if the join will carry heavy loads.

Which Stitching Techniques Work Best for Webbing?

The best stitches for webbing are backstitch, box stitch, and bar tack for their durability and strength.

What Is the Best Stitch for Webbing?
  • Backstitch: Strong and easy for beginners.
  • Box-X Stitch: Industry standard for straps (think seat belts and backpacks).
  • Bar Tack: Very strong; used in climbing gear.
  • Whip Stitch: Good for securing ends but not high-stress areas.
Stitch TypeBest ForStrength
BackstitchGeneral hand sewingHigh
Box-X StitchAttaching webbing to gear/bucklesVery High
Bar TackLoad-bearing pointsExtreme
Stitching Tips
  • Use a thimble for pressure
  • Keep thread tight but not puckering
  • Double thread = double strength

Do You Need Reinforcement for Hand Sewn Webbing?

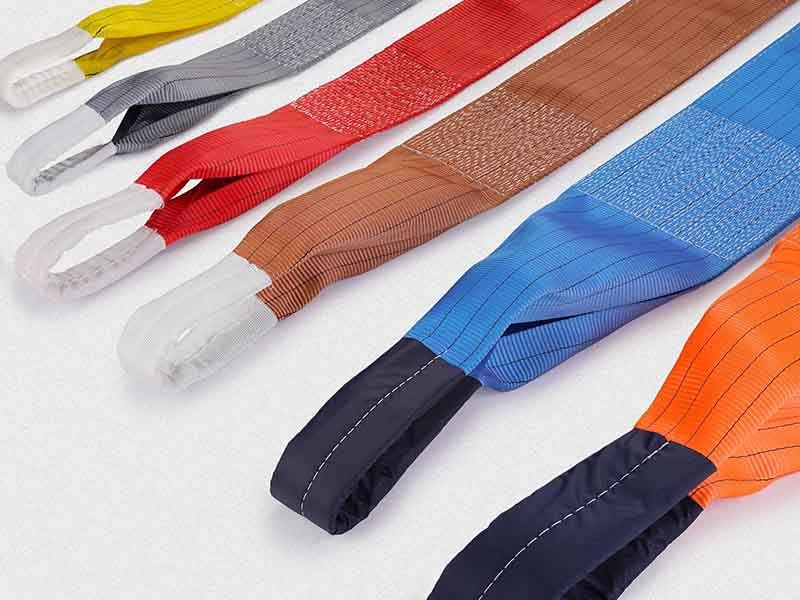
Yes, reinforcement is essential when the webbing will be under stress or weight.

When Is One Stitch Not Enough?
  • Heavy Backpacks or Duffel Bags: Require multiple stitch passes or layered webbing.
  • Pet Leashes or Safety Straps: Must be double stitched or use bar tacks.
How to Reinforce Without a Machine
  • Use extra webbing layers
  • Cross-stitch and reverse stitch for added strength
  • Use a backing material like canvas or leather

Is It Better to Hand Sew or Use a Machine for Webbing?

Hand sewing is ideal for small projects or repairs, while machines offer speed and consistency for bulk production.

Pros of Hand Sewing
  • Portable and affordable
  • Great for prototyping or custom pieces
  • More control on complex angles
Cons of Hand Sewing
  • Time-consuming
  • May not be strong enough for industrial loads without proper reinforcement
When to Use a Machine Instead
  • Bulk production
  • Load-bearing applications (climbing gear, industrial straps)
  • Uniform aesthetic finishes
Szoneier’s Role

If you need strong, consistent, and scalable webbing products, Szoneier offers industrial-grade stitching with QC-backed quality and customizable design support.

How Can You Customize Your Webbing with Hand Stitching?

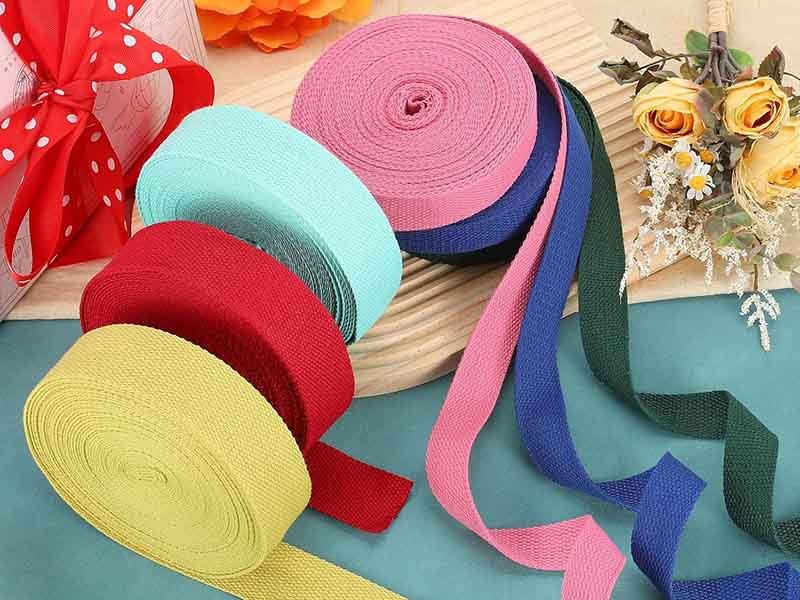
Hand stitching allows for creative freedom with color, pattern, and branding on your webbing projects.

Creative Hand Stitching Ideas
  • Use colorful thread to match brand identity
  • Add decorative stitches or embroidery
  • Stitch on labels or logos
Branding on Webbing
  • Add a custom patch or tag by hand
  • Personalize straps for limited editions or giveaways
  • Hand-stitched prototypes for pre-production samples
Szoneier Offers:
  • Logo printing & embroidery on webbing
  • Custom color and fabric matching
  • Support for both hand-finished and machine-made webbing products

Conclusion: Want Your Webbing Custom Made Without the Hassle?

Learning how to sew webbing by hand is a valuable skill whether you’re a DIY hobbyist or prototyping a new product. But when you’re ready to scale up or want professional, polished results—Szoneier is your go-to webbing expert.

With years of manufacturing experience, free design services, samples, and a wide variety of custom options, we help you bring your webbing product vision to life—fast, affordably, and reliably.

Contact us today for a free quote, free design, and to explore your options for OEM/ODM webbing customization.

Make A Sample First?

If you have your own artwork, logo design files, or just an idea,please provide details about your project requirements, including preferred fabric, color, and customization options,we’re excited to assist you in bringing your bespoke bag designs to life through our sample production process.

Ask For A Quick Quote

Looking for premium custom webbing? Contact us now for competitive pricing, free samples, and expert consultation. Fill out the form below, and our team will get back to you within 24 hours!