

- (+86)13823134897
- info@szoneierwebbing.com
From Inquiry to Delivery
 Skip to content
 From Inquiry to Delivery
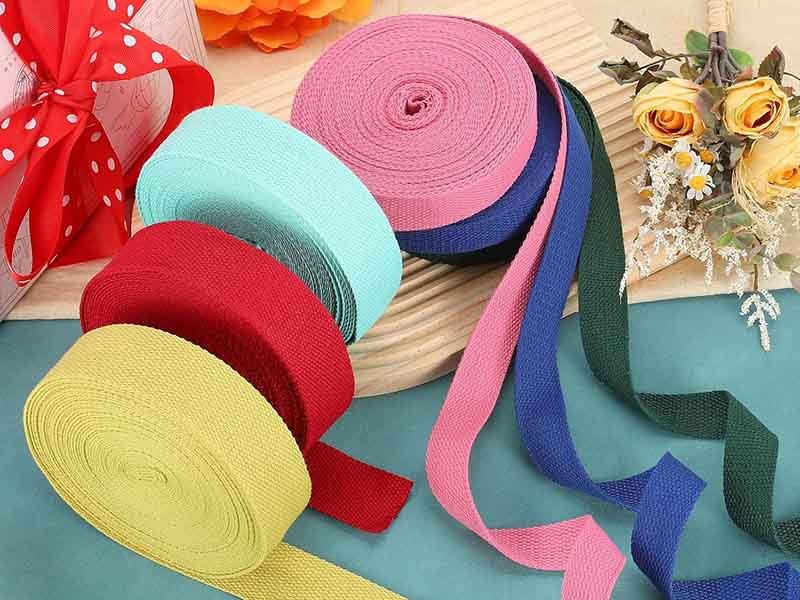
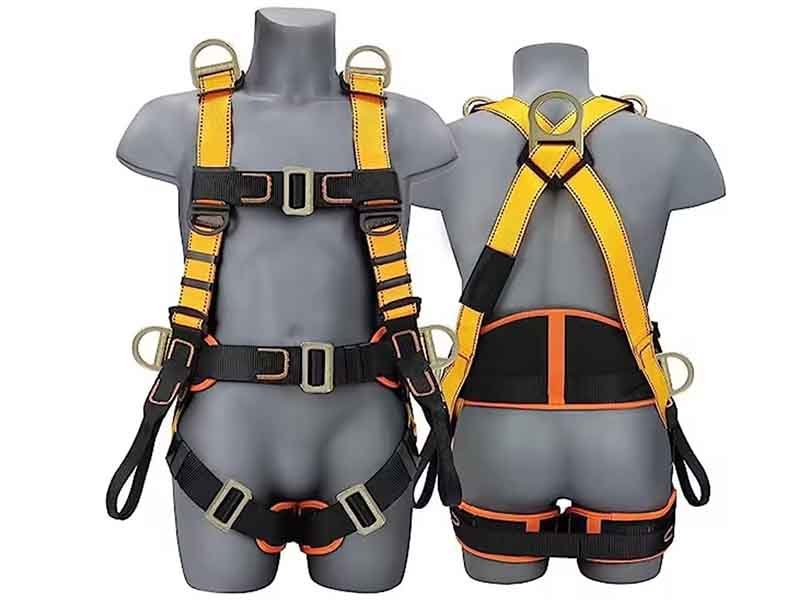
Nylon webbing is the unsung hero of our everyday adventures. From hiking backpacks and kayak tie-downs to dog leashes and safety harnesses, it’s the strong, flexible strap that keeps us moving. But no webbing lasts forever. Frays, tears, and UV damage happen—even to the best straps—leaving you stranded on trail or wrestling with a failing cinch strap. The good news? With a few basic tools and a bit of know-how, you can bring most nylon webbing back to life in minutes.
Repairing nylon webbing involves trimming and cleaning the damaged area, reinforcing it with stitching or heat fusion, sealing raw edges to prevent future frays, and performing simple load tests to ensure safety. When you use the right tools—sharp cutters, UV-resistant thread, a heat sealer—and follow a clear step-by-step process, you’ll restore up to 85% of original tensile strength, saving money and keeping your gear in top shape.
Imagine you’re halfway up a cliff, and the harness strap that keeps you anchored gives way. Panic sets in—until you recall that you packed a tiny sewing awl and lighter in your repair kit. Five minutes later, you’re safely clipped in again, ready to summit. Let’s jump into every detail, from spotting the earliest signs of wear to certifying your repair with a quick strength test.
Nylon webbing weakens through UV exposure, abrasion, chemical contact, and repeated bending at stress points. Early warning signs include fiber pilling (fuzzing), thinning or translucent patches, color fading, and small edge frays. A quick monthly inspection—especially around buckles, sewn loops, and high-flex areas—lets you catch problems before they turn into failures.
Mechanics of Abrasion
Spotting Abrasion Early
Data Snapshot:
| Surface Type | Abrasion Rate (Loss of Strength after 100 cycles) |
|---|---|
| Smooth metal | 8% |
| Rough bark | 14% |
| Concrete edge | 21% |
| Damage Cause | Early Warning Sign | Inspection Tip |
|---|---|---|
| UV Exposure | Chalky stiffness, color fade | Flex test and visual compare to new strap |
| Abrasion | Pilling, fiber dust | Slide test with thumb |
| Chemical Exposure | Sticky spots, discoloration | Touch and smell suspect areas |
| Flex Fatigue | Hairline cracks, elongation | Inspect near hardware weekly |
To fix nylon webbing you’ll need sharp cutters (rotary cutter or razor-sharp scissors), heavy-duty nylon/polyester thread, sailmaker’s needles or a sewing awl, a heat sealer or lighter for melting ends, plus optional webbing patches and polyurethane adhesive for reinforcement.
| Item | Purpose | Typical Cost (USD) |
|---|---|---|
| Rotary Cutter & Mat | Precise trimming | $12–$20 |
| Heavy-Duty Thread | UV-resistant stitching | $6–$10 per spool |
| Sailmaker’s Needles | Hand stitching | $8–$12 per pack |
| Heat Sealer/Lighter | Sealing edges | $2–$30 |
| Webbing Patches | Reinforce larger tears | $5–$15 per pack |
| Polyurethane Adhesive | Bonding without stitches | $8–$12 per tube |
First, clean the webbing with mild soap and water and let it fully dry. Then trim away all frayed fibers back to solid material, mark the repair zone with chalk, and immediately seal cut edges by melting to prevent further unraveling.
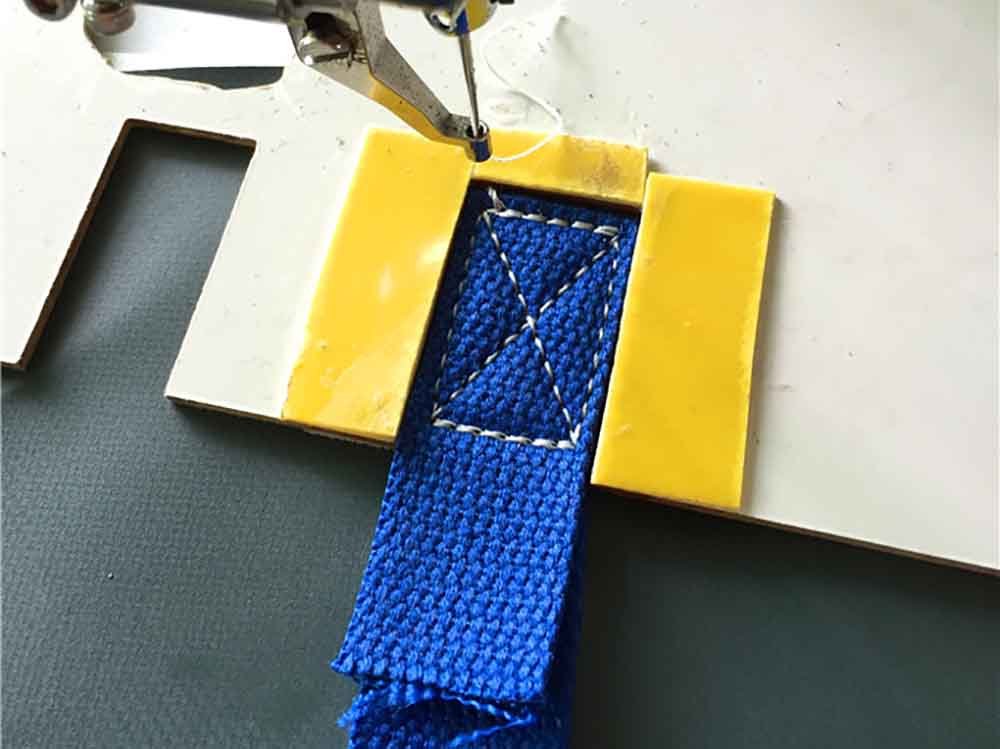
Overlap trimmed ends by 1–2 inches and sew a box-X stitch at 10–12 stitches per inch for mechanical strength. For small tears (<½ inch), use heat fusion under Teflon sheets. Quick fixes can use polyurethane adhesive clamped for 30 minutes, curing 24 hours.
Tools & Setup
Steps
Strength Yield
| Stitch Pattern | % of Original Strength Restored |
|---|---|
| Simple Straight | 45% |
| Box | 70% |
| Box-X | 85% |
Ideal Use
Process
Best When
Steps
Performance
| Repair Type | Strength Restored | Cure Time |
|---|---|---|
| Adhesive Only | 60–65% | 24 hours |
| Adhesive + Stitch | 80–90% | 24 hours |
After repairs, seal cut ends with a quick flame pass, wrap with self-adhesive nylon tape or shrink tubing, or dab on Fray-Check. For rugged, outdoor straps, combine heat sealing with shrink tubing for maximum protection.
Load-test repaired webbing by attaching known weights or using a tension gauge. Increase load in 25% increments of the original rated limit, holding each step for 30 seconds. A successful repair should hold at least 80% of rated strength with ≤10% elongation.
| Load Step | Hold Time | What to Observe |
|---|---|---|
| 25% of Rated Strength | 30 sec | No slippage, thread intact |
| 50% | 30 sec | Slight stretch (<5%) acceptable |
| 75% | 30 sec | No stitching pull-out or webbing failure |
| 100% | 30 sec | Elongation ≤10%, no deformation or slip |
Extend webbing life by cleaning after use, storing in cool, dry shade, applying UV protectant sprays quarterly, inspecting monthly around high-stress zones, and rotating load points. Protective covers and proper coiling also minimize wear.
| Frequency | Task |
|---|---|
| Weekly | Visual check of high-stress zones |
| Monthly | Full-length flex and abrasion test |
| Quarterly | Deep clean and UV spray application |
You’ve now got the full toolbox to diagnose, prep, repair, and validate nylon webbing fixes—whether by precision stitching, heat fusion, or adhesive bonding. Those frays and tears won’t slow you down on your next trip. But sometimes you need brand-new, factory-grade webbing built exactly to your specs. That’s where Szoneier comes in.
With over 18 years of R&D and manufacturing excellence, Szoneier delivers:
Ready for premium custom webbing?
Contact Szoneier today for a free quote and design consultation. Let’s engineer the perfect webbing solution for your brand and applications!


No worries, please contact us and we will answer all the questions you have during the whole process of webbing customization.
If you have your own artwork, logo design files, or just an idea,please provide details about your project requirements, including preferred fabric, color, and customization options,we’re excited to assist you in bringing your bespoke bag designs to life through our sample production process.

Copyright ©2021 Szoneier , All rights reserved.
Looking for premium custom webbing? Contact us now for competitive pricing, free samples, and expert consultation. Fill out the form below, and our team will get back to you within 24 hours!
 Optimized by Seraphinite Accelerator