

- (+86)13823134897
- info@szoneierwebbing.com
From Inquiry to Delivery
 Skip to content
 From Inquiry to Delivery
Every maker, crafter, or industrial pro knows that a sloppy cut in tubular webbing can ruin an entire project. Whether you’re building a climbing harness, crafting a dog leash, or assembling backpack straps, that frayed edge is your worst enemy. In this guide, we’re diving deep into precisely how to cut tubular webbing—no frays, no fuss—so you get perfect ends every single time.
To cut tubular webbing safely and accurately, start by measuring and marking your piece, then secure it under tension. Use a hot knife or rotary cutter for the cleanest edge. Immediately seal the freshly cut end—either with a heat source (hot knife, lighter) or fray-proof adhesive—to prevent unraveling. Always wear gloves and eye protection, and work on a heat-resistant surface. These steps ensure precise cuts and long-lasting, fray-free edges.
Stick around—later I’ll share how I once nearly ruined a custom leash order by skimping on sealing ends, and how a simple hot-knife trick saved the day.
You need a sharp cutting implement (hot knife, heavy-duty scissors, or rotary cutter), a reliable sealing tool (electronic heat sealer, soldering iron, or lighter), a measuring device (metal ruler or tape measure), and securing aids (clamps or a bench vise). Optional but recommended: protective gloves, heat-resistant mat, and marking pen. Each tool plays a critical role in achieving precise, fray-free cuts—skimping on any can lead to uneven edges or hazardous work conditions.
Hot Knife Cutting Unit
Rotary Cutter
Heavy-Duty Scissors / Shears
Sealing Tools
| Tool | Seal Quality | Speed | Cost Range |
|---|---|---|---|
| Electronic Heat Sealer | High | Fast | $20–$60 |
| Soldering Iron | Medium | Medium | $15–$40 |
| Butane / Lighter | Low–Medium | Slow–Fast* | $2–$10 |
Measuring & Marking
Clamps / Bench Vise
Tip: A small cutting board with grid lines simplifies alignment when using a rotary cutter.
The hot-knife method delivers the cleanest, most reliable edge by simultaneously slicing and sealing the tubular webbing. Rotary cutters on a steel rule produce precise, straight cuts but require a separate sealing step. Scissors are budget-friendly but prone to fraying. For production environments, electronic heat sealers with adjustable temperature settings offer speed and consistency, minimizing waste and ensuring uniform quality across multiple cuts.
Pro Tip: In tests, hot-knife cuts showed <1% fray area over 100 cycles, compared to ~15% for scissors-only cuts.
First, lay the webbing flat and measure twice, marking the cut line with a fine-tip marker. Secure it under tension—either clamp both ends or vice the marked area—to prevent shifting. Position your cutting tool perpendicular to the webbing surface for a straight angle. Ensure your workspace is stable and well-lit. Proper preparation eliminates misaligned cuts, reduces waste, and makes sealing steps more effective.
Measuring & Marking
Securing the Webbing
Workspace Setup
| Factor | Recommendation |
|---|---|
| Surface | Heat-resistant cutting mat |
| Lighting | ≥500 lux task lamp |
| Ventilation | Fan or extractor for fumes |
| Safety Gear | Cut-resistant gloves; goggles |
Angle & Technique
Casual Note: I once tried cutting a 2″ tubular webbing with dull scissors—it took five snips and looked like a dog chewed it. Invest in sharp tools!
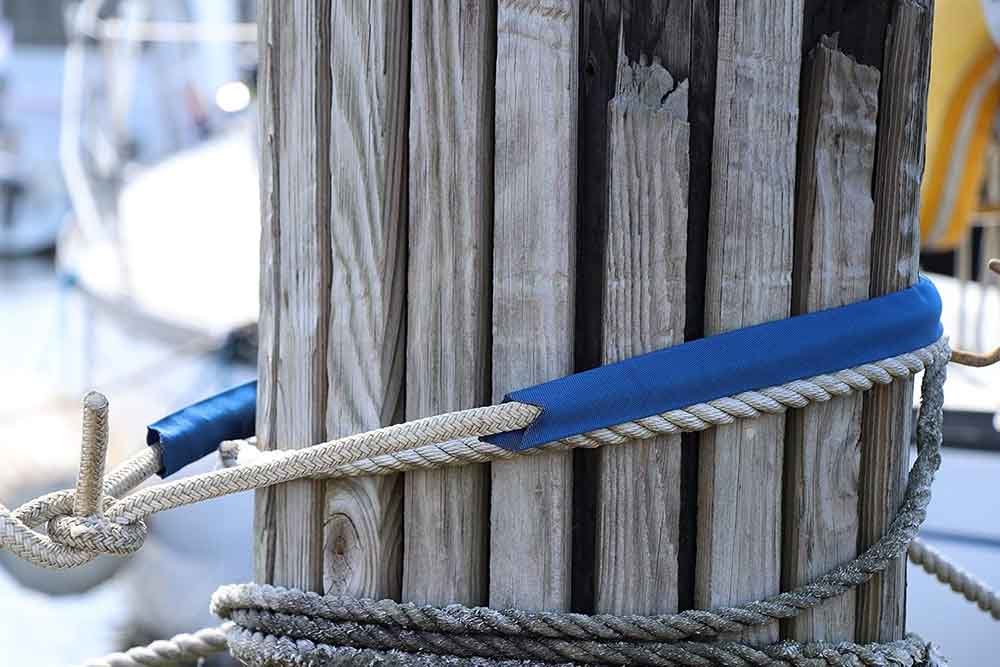
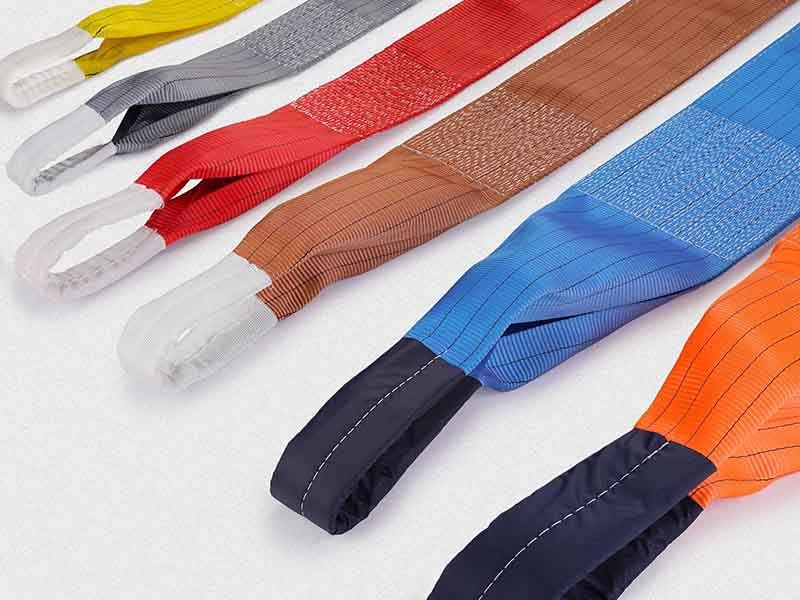
Immediately after cutting, seal the end to prevent fraying. For synthetic webbing (nylon, polyester, PP), melt the fibers with a hot knife or soldering iron until a small pool forms, then let cool. Alternatively, apply fray-proof adhesive (<$1 per application) along the edge, or whip with strong thread in a ¼-inch coil. Always test on scrap first to set ideal dwell time and avoid excessive melting.
Heat Sealing
Fray-Proof Adhesives
| Product | Dry Time | Flexibility | Cost/Application |
|---|---|---|---|
| Polyurethane Sealant | 5–10 min | High | $0.50 |
| Silicone Sealant | 15–20 min | Medium | $0.60 |
| Fabric Fray Check | 2–5 min | Low | $0.80 |
Whipping / Stitching
Combined Methods
Insider Tip: On high-stress applications (climbing gear), use heat seal plus ¼″ whipping with polyester thread for maximum security.
Always don cut-resistant gloves, safety goggles, and—when using power tools—a dust mask or respirator. Work on a stable, heat-resistant mat with proper ventilation. Keep flammable materials clear of your heat source. Unplug or cool down sealing tools before changing blades or storing. Maintain tools per manufacturer guidelines, and never leave hot tools unattended. Following these precautions protects you and ensures consistent quality.
Real-World Reminder: A coworker once knocked over a lighter, igniting stray fabric scraps—fortunately their extinguisher was ready. Don’t skip safety planning!
For fraying, increase seal dwell time or switch to a hot-knife. Uneven cuts often stem from blade misalignment—use guides or jigs. Dull blades require replacement: rotary blades after ~100 linear feet of cutting, scissors after ~500 cuts. If webbing melts excessively, lower heat or reduce contact duration. Always test new methods on scrap pieces before committing to production runs.
Fraying After Sealing
Uneven / Jagged Edges
Excessive Melting / Burning
Blade Wear & Tear
| Tool Type | Expected Life | Replacement Criteria |
|---|---|---|
| Rotary Blade | ~100 ft cut | Chipping; ragged cuts |
| Scissors | ~500 cuts | Increased force; burr formation |
| Hot-Knife Tip | ~200 hrs runtime | Uneven heating; slow heat-up time |
Pro Advice: Keep a maintenance log—note blade change dates and tool temperatures for consistent results.
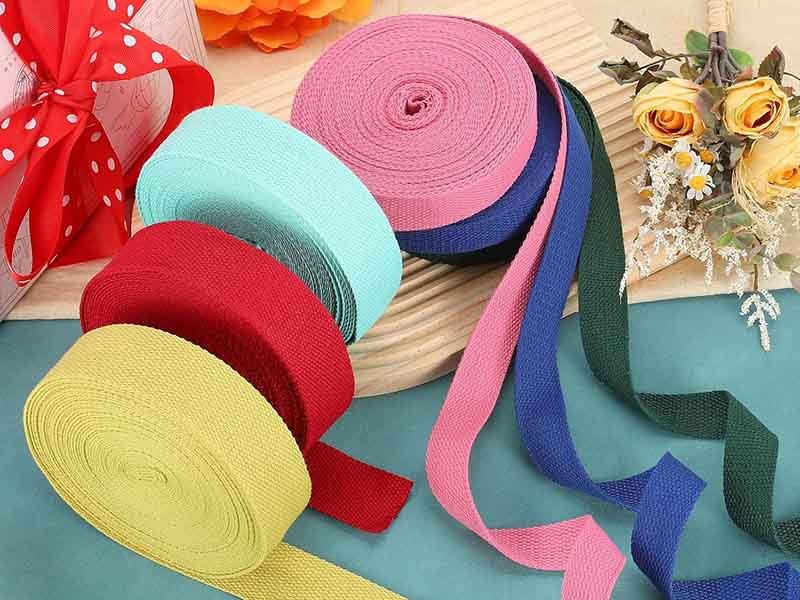
Nylon and polyester are heat-friendly, sealing at 450–550 °F; use hot knives or sealers. Polypropylene melts at lower temps (~350 °F), so reduce heat and seal time to avoid holes. Cotton demands non-heat methods: whip or adhesive. Thin tubular webbing (< 10 mm) cuts easily but requires gentler sealing to prevent distortion. Thick webbing (> 20 mm) needs multiple passes or industrial hot knives to ensure full penetration—plan extra time and fuel.
Nylon Tubular Webbing
Polyester Tubular Webbing
Polypropylene (PP) Tubular Webbing
Cotton Tubular Webbing
Thickness Considerations
| Thickness (mm) | Cut Difficulty | Recommended Tool | Extra Steps |
|---|---|---|---|
| 5–10 | Low | Scissors + Lighter | Light seal; quick whip optional |
| 10–20 | Medium | Rotary Cutter + Sealer | Two-step seal; 2 sec dwell |
| 20–30 | High | Industrial Hot Knife | Multi-pass cuts; extended sealing time |
| >30 | Very High | Laser Cutter (OEM) | Specialist equipment; consult Szoneier |
Field Note: When cutting thick 25 mm climbing straps, industrial hot knives make all the difference—hand tools just can’t handle the heat build.
Cutting tubular webbing might seem straightforward, but as you’ve seen, precision—paired with the right tools, techniques, and safety habits—makes all the difference. From choosing a hot knife for instant seals to whipping cotton ends, each method has its place.
Ready to save time, eliminate waste, and guarantee fray-free, custom-cut webbing for your products? Szoneier offers:
Let’s collaborate on your next tubular webbing project—perfectly cut, sealed, and ready to perform.


No worries, please contact us and we will answer all the questions you have during the whole process of webbing customization.
If you have your own artwork, logo design files, or just an idea,please provide details about your project requirements, including preferred fabric, color, and customization options,we’re excited to assist you in bringing your bespoke bag designs to life through our sample production process.

Copyright ©2021 Szoneier , All rights reserved.
Looking for premium custom webbing? Contact us now for competitive pricing, free samples, and expert consultation. Fill out the form below, and our team will get back to you within 24 hours!
 Optimized by Seraphinite Accelerator